When it comes to delivering smooth and seamless performance, iPhones undoubtedly stand out from the rest. But that doesn’t mean Apple’s much-talked-about smartphone hasn’t had its fair share of issues. Luckily, there are some handy tips and tricks that can fix the iPhone’s common problems that occur every then and now.
Some issues appear repeatedly: battery draining too fast, charging problems, overheating after updates, cracked screens, and Face ID failures. Others are less common but still frustrating, like the phone getting stuck on the Apple logo or apps crashing randomly.
The good news is that many iPhone problems can be fixed with a few simple steps. And when the issue turns out to be hardware-related, getting it repaired early can prevent bigger damage later.
Below is a list of the 20 most common iPhone problems we see today, ordered by how frequently users report them in 2025–2026.
Most Trending iPhone Problems in 2026
1. iPhone Battery Draining Too Fast
Battery drain is easily the most common complaint among iPhone users today. Many people notice that their phone that once lasted all day suddenly starts dropping from 100% to 20% within a few hours.
In most cases, this happens because the battery has aged or because certain apps are constantly running in the background.
What usually causes this
- Battery health dropping below 80%
- Too many background apps running
- High screen brightness and location services
-
iOS updates temporarily affecting battery performance
What you can try first
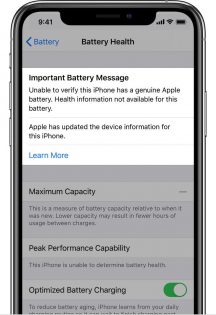
Start by checking your Battery Health under Settings. If the maximum capacity is below 80%, the battery may simply be worn out.
You can also try:
- Turning off Background App Refresh
- Reducing screen brightness
- Closing unused apps
- Updating to the latest iOS version
If none of these help and your battery keeps draining unusually fast, the issue is likely a degraded battery that needs replacement.
2. iPhone Overheating
Another issue that has become increasingly common in recent years is iPhone overheating. Many users notice their phone becoming unusually warm while gaming, charging, or even during normal usage.
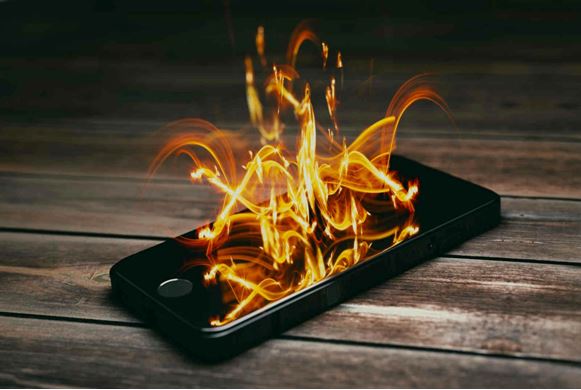
Sometimes the device may even display a message saying “iPhone needs to cool down before you can use it.”
Common reasons this happens
- Heavy apps like games or video editing tools
- Charging the phone while using it
- Hot environments or direct sunlight
- Software bugs after iOS updates
How to reduce overheating
If your iPhone starts overheating, try these quick fixes:
- Remove the phone case temporarily
- Close heavy apps running in the background
- Stop using the phone while it is charging
- Move the device to a cooler environment
Occasional warmth is normal, but frequent overheating may indicate a battery or hardware issue.
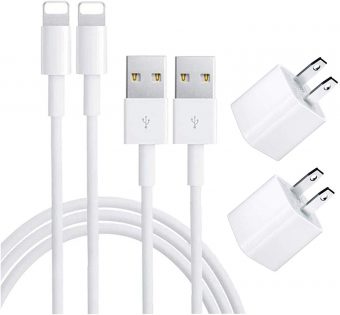
3. iPhone Not Charging Properly
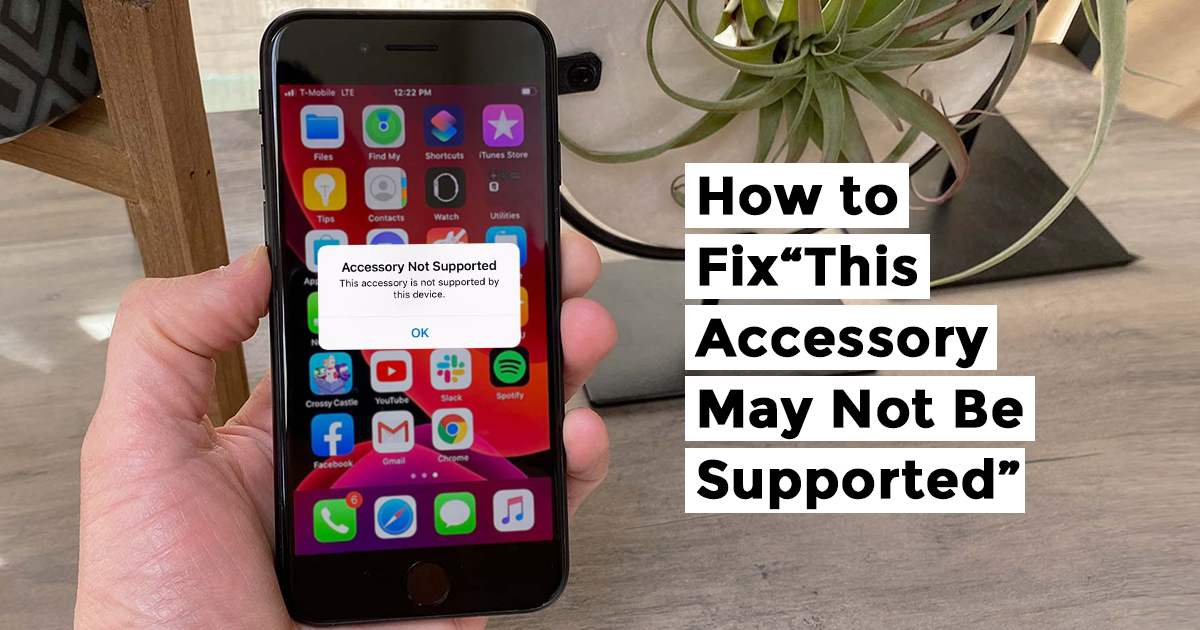
Few things are more frustrating than plugging in your iPhone and realizing that it isn’t charging at all.
Surprisingly, the issue is often much simpler than people think. In many cases, the charging port becomes clogged with dust and pocket lint, preventing the cable from connecting properly.
Common causes
- Dust or debris in the charging port
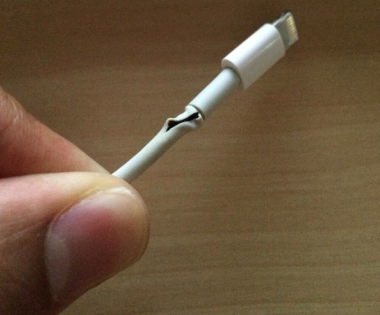
- Damaged Lightning cable
- Battery problems
- Faulty charging adapter
What you should try
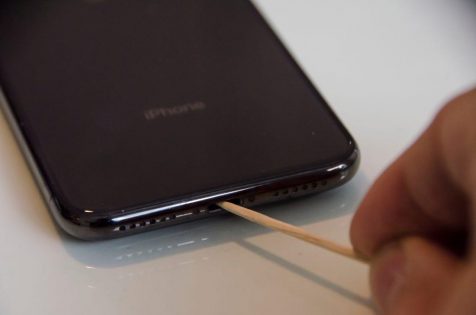
First, inspect the charging port carefully. If you see debris inside, clean it gently with a wooden toothpick or compressed air.
Then test the phone with:
- A different charging cable
- A different power adapter
- Another power outlet
If your iPhone still refuses to charge, the charging port or battery may need professional repair.
4. Cracked or Broken iPhone Screen
A cracked screen remains the most common hardware repair worldwide.
Even with stronger glass in newer models, a simple drop onto concrete can easily damage the display.
Many people continue using their phone with a cracked screen, but this can lead to bigger problems later.
Why you shouldn’t ignore it
- Cracks can spread over time
- Touch responsiveness may stop working
- Glass shards can cause injury
In most cases, the safest solution is professional screen replacement. DIY repair kits exist, but they often damage delicate components like Face ID sensors if handled incorrectly.
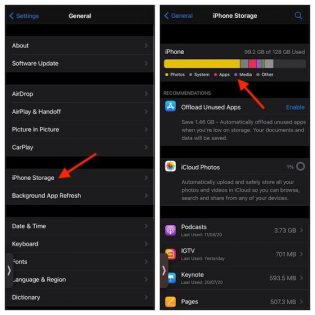
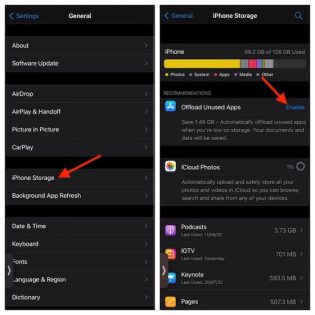
5. iPhone Storage Always Full
Storage issues are becoming more common as people take more photos, videos, and large app downloads.
When storage is nearly full, the iPhone may start behaving strangely.
Signs your storage is overloaded
- Apps crashing frequently
- Camera refusing to save photos
- iOS updates failing
- Phone becoming noticeably slower
How to free up space
Start by reviewing what is taking up the most storage.
You can:
- Delete duplicate photos and videos
- Remove apps you rarely use
- Clear Safari browser cache
- Move photos to iCloud or external storage
6. iPhone Running Very Slow
Over time, many users notice that their iPhone starts feeling sluggish. Apps take longer to open, animations lag, and even basic tasks like switching between apps feel slower than usual.
This usually happens when the device storage is nearly full or when too many apps are running in the background.
What usually causes this
- Low available storage
- Too many background apps
- Outdated iOS version
- Aging battery affecting performance
What you can do
Start by freeing up storage space. Delete unused apps, old screenshots, and large videos that you no longer need.
Restarting the phone and installing the latest iOS update can also improve performance. If the device still feels slow after cleaning storage, the battery may be degraded and affecting overall speed.
7. Apps Freezing or Crashing Randomly
Another issue many iPhone users experience is apps suddenly freezing or crashing.
This is usually not a hardware problem. In most cases, it happens because the app itself is outdated or incompatible with the current iOS version.
Possible reasons
- Outdated apps
- Software conflicts
- Insufficient storage space
How to fix it
Open the App Store and update all apps to the latest version. If the problem continues, try deleting the problematic app and installing it again.
Restarting the device often resolves temporary software glitches as well.
8. Face ID Not Working
Face ID is extremely convenient, but when it stops working it can be frustrating. Some users notice that the phone suddenly cannot recognize their face even in normal lighting conditions.
Common reasons
- Dirt or smudges on the front camera
- Changes in appearance (glasses, masks, etc.)
- Software glitches
Things you can try
Clean the front camera area gently with a soft cloth. Then go to Settings → Face ID & Passcode and reset Face ID.
If the issue still persists, the TrueDepth sensor may have been damaged due to a drop or water exposure.
9. Wi-Fi Not Connecting or Disconnecting Frequently
Wi-Fi problems can make browsing, streaming, or downloading apps very frustrating.
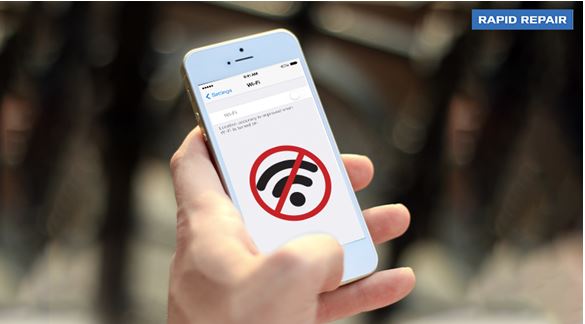
Sometimes the iPhone shows a Wi-Fi connection but internet access still doesn’t work.
Common causes
- Router issues
- Network configuration errors
- Software glitches
Simple solutions
Try turning Wi-Fi off and back on again. Restarting both the router and the phone often resolves connection issues.
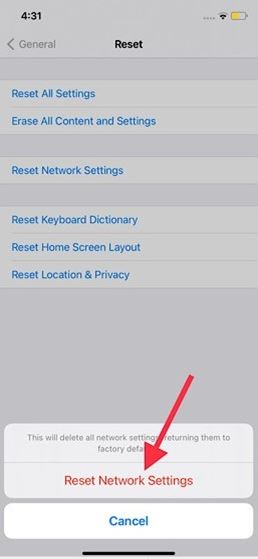
If the problem continues, reset the network settings by going to Settings → General → Transfer or Reset iPhone → Reset Network Settings.
10. Cellular Network Problems
Sometimes the iPhone suddenly shows “No Service” or struggles to maintain a stable mobile network.
Possible reasons
- Temporary network outage
- SIM card issues
- Network configuration errors
What you should check
Remove the SIM card and insert it again to ensure it is properly seated. If the issue persists, try resetting network settings.
If the phone still cannot detect a network, contacting your mobile carrier may be necessary.
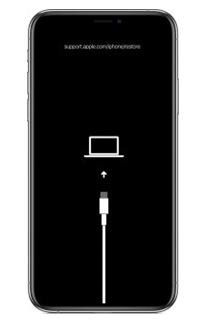
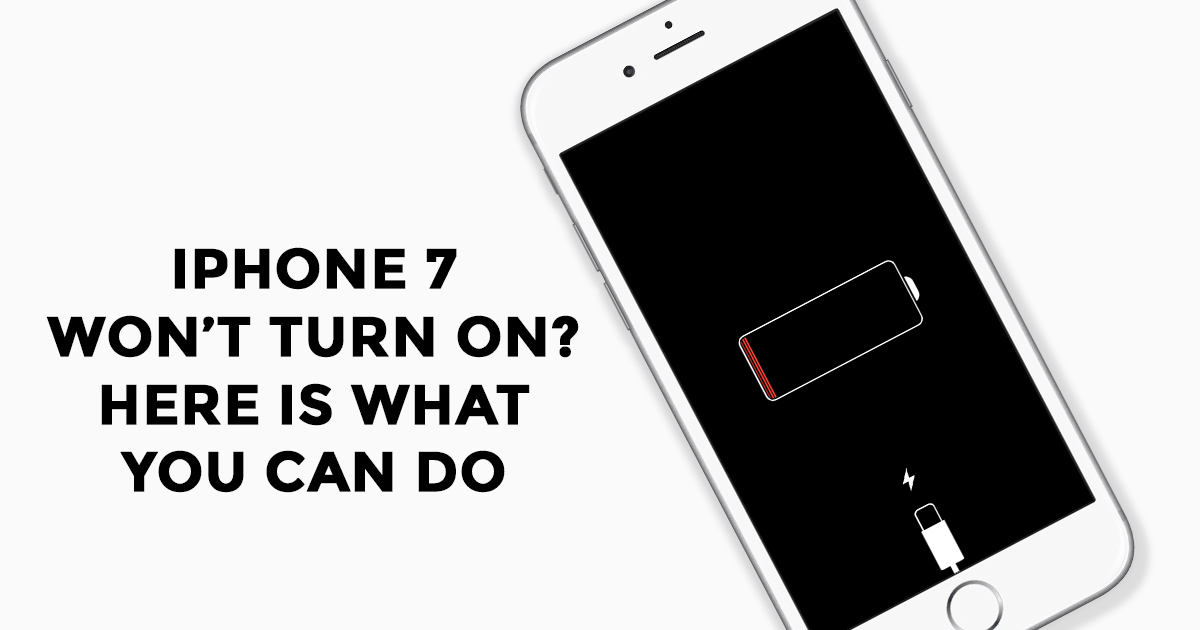
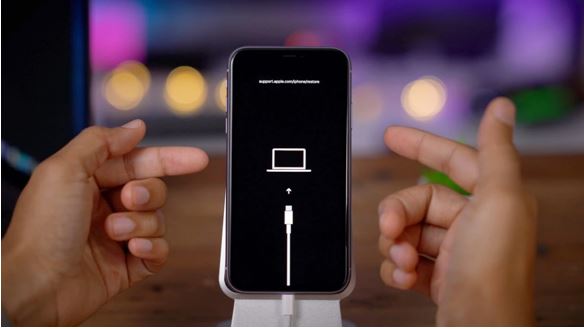
11. iPhone Stuck on Apple Logo
One of the more alarming issues occurs when the iPhone gets stuck on the Apple logo during startup.
This often happens after an iOS update, system crash, or failed restore attempt.
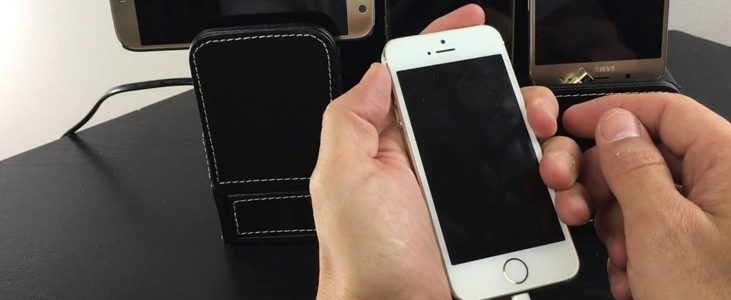
The quickest solution
A force restart usually fixes the problem.
For newer iPhones:
- Press and release the Volume Up button
- Press and release the Volume Down button
- Hold the Side button until the Apple logo appears
If this doesn’t work, the phone may need to be restored through recovery mode.
12. Camera Not Working Properly
The iPhone camera is one of its most important features, so it can be frustrating when it suddenly stops working.

Sometimes the camera app opens but shows a black screen or refuses to capture photos.
Possible causes
- Temporary software glitch
- Camera app crash
- Hardware damage
What you can try
Close the camera app and reopen it. Restarting the device can also fix many camera problems.
If the camera still doesn’t work, the lens or internal camera module may require repair.
13. Bluetooth Connectivity Issues
Bluetooth is used for connecting AirPods, speakers, car systems, and many other accessories.
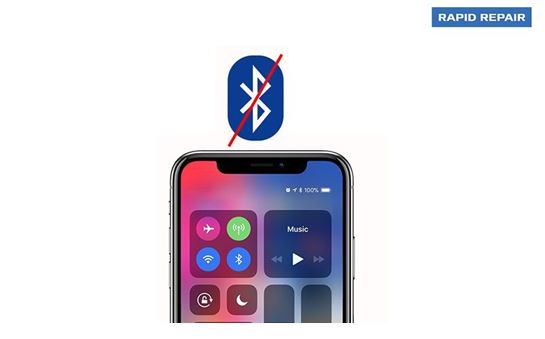
Occasionally the iPhone refuses to pair with devices it previously connected to without problems.
Simple fixes
Turn Bluetooth off and back on again. If the device still won’t connect, forget the device in Bluetooth settings and pair it again.
Resetting network settings can also solve persistent Bluetooth issues.
14. iPhone Black Screen
Some users experience a situation where the iPhone appears to be on, but the screen remains completely black.
This problem is sometimes referred to as the “Black Screen of Death.”
Possible causes
- Software crash
- Battery drained completely
- Display hardware damage
What to try
Perform a force restart first. If the screen remains black even though the phone vibrates or makes sounds, the display may need replacement.
15. Water Damage
Water exposure remains one of the most common causes of smartphone damage.
Even though newer iPhones are water-resistant, they are not completely waterproof.
Immediate steps to take
- Turn the phone off immediately
- Do not charge it
- Dry the device with a soft cloth
Avoid using heat sources like hair dryers, as they can damage internal components.
If the phone stops working after water exposure, professional repair is usually required.
16. Touchscreen Not Responding
Sometimes the touchscreen becomes unresponsive or reacts slowly to touches.
Possible reasons
- Screen damage
- Software glitches
- Faulty screen protector
Quick fixes
Restart the device and remove any screen protector that might interfere with touch sensitivity.
If the display still does not respond properly, the screen may need replacement.
17. iPhone Speaker Not Working
If your iPhone speaker suddenly becomes quiet or stops working entirely, it can make calls and media playback difficult.
Possible causes
- Dust blocking the speaker grill
- Water exposure
- Software glitches
What you can try
Clean the speaker area gently with a soft brush and restart the phone.
If sound problems continue, internal speaker damage may be the cause.
18. iPhone Randomly Restarting
Some users report their iPhone restarting unexpectedly during normal use.
Possible causes
- Software bugs
- Faulty apps
- Battery problems
Solutions
Make sure the device is updated to the latest iOS version. Removing recently installed apps can also help identify the source of the problem.
If random restarts continue, the battery may need replacement.
19. iCloud Backup Not Working
iCloud backup is designed to keep your data safe, but sometimes backups fail unexpectedly.
Common reasons
- Insufficient iCloud storage
- Weak internet connection
- Backup settings disabled
What to check
Ensure you are connected to a stable Wi-Fi network and have enough iCloud storage available.
You can also try signing out of iCloud and signing back in.
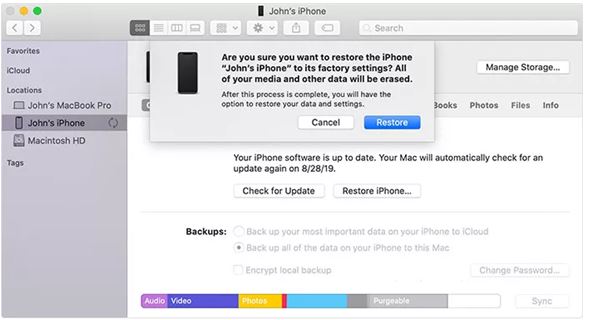
20. iPhone Update Failed
Some users encounter errors when trying to install a new iOS update.
Possible causes
- Insufficient storage
- Unstable internet connection
- Server issues during updates
What you can do
Free up some storage space and ensure the phone is connected to a stable Wi-Fi network.
If the update still fails, installing the update through a computer using Finder or iTunes may resolve the issue.
When Should You Seek Professional iPhone Repair?
While many minor issues can be fixed with simple troubleshooting, some problems require professional attention.
If your iPhone has screen damage, battery problems, charging issues, water exposure, or camera failures, it’s best to get it checked by experienced technicians.
At Rapid Repair, we provide professional repair services for iPhones, including:
Getting your device repaired early can prevent further damage and extend the life of your iPhone.