Apple iOS 17.5 & 17.5.1 – All you need to know!

Source: India TV News

As a tech brand that always strives to hold the number one position in the industry, Apple keeps on introducing new versions of iOS every now and then. As an iPhone user, you might wonder what’s the need for frequent updates. But rest assured, these updates are not all in vain. With each update, Apple fixes some existing bugs and takes a step forward to provide a better user experience.

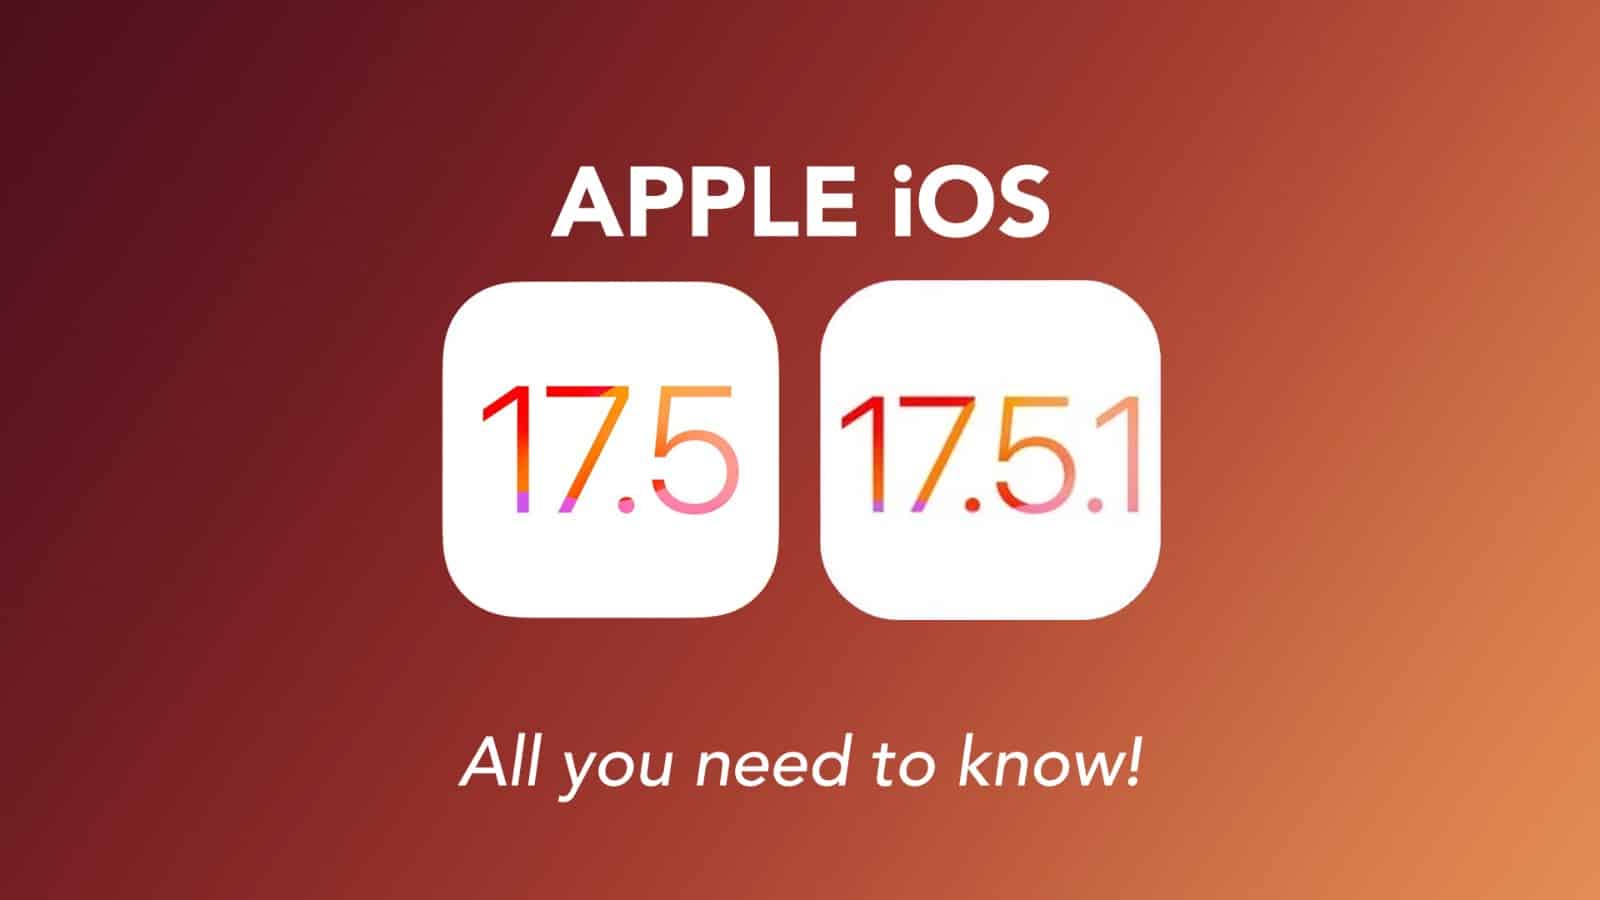
Apple launched the iPhone update iOS 17.5 on 13th May. Within a week, the iOS 17.5.1 update was launched. Now, what was the need for the launch of two back to back updates? Also, is it worth updating your iPhone to these latest iOS versions? You will get the answers yourselves if you know more about these two latest updates.

Apple iOS 17.5 review

In this new iOS version, Apple has addressed a few important security issues and introduced some cool features. Below you will find about all of those fixes and features, which you can get in India.

Repair State mode – In the Find My app, a new Repair State feature is introduced, where a user will be able to track their device when it is being repaired in a service centre. Unlike earlier, the user will not have to turn off Find My and Stolen Device Protection while leaving their iPhone in a service centre. By enabling the Repair State, a user can confirm that they are sending their iPhone for repair.

Unknown Third-Party Tracker detection – If any unknown Apple Air Tag or any other third-party tracking device stays near your device for a long time, you will get a warning notification on your device. This feature will enable automatically once you update to iOS 17.5 or 17.5.1.

Read- iOS 17.4: Details That you Need to Know

Source: Apple

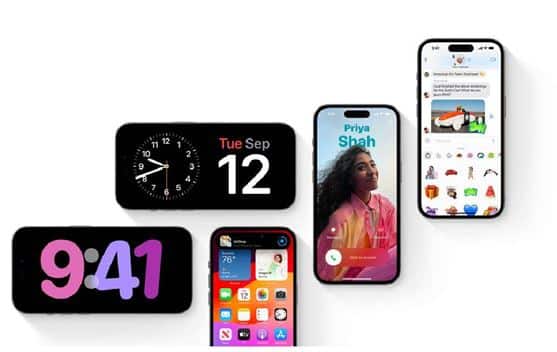
Pride Wallpaper – With iOS 17.5 Apple introduced a series of special Pride Collection wallpapers, in support of the LGBTQ+ community. The wallpapers come in five different colours.

Source: Apple

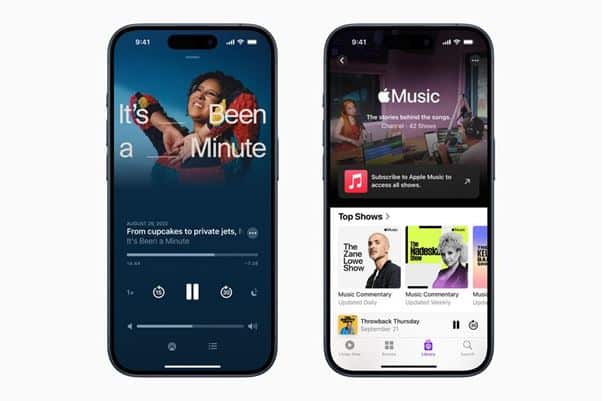
Dynamic colour for podcast widget – With the latest iOS, the podcast widget on your iPhone will adapt the colour of the artwork of the podcast you are listening to.

Last played podcast in Spotlight search – In this latest update, if you tap on Spotlight search and type podcast, you will see the last three podcasts you played, along with the Podcasts app.

New reading goal – In iOS 17.5 and 17.5.1, you will get a new Reading Goal feature in the Books app. The Books app has a new menu in the top right corner of the homepage, where you can set a daily reading time from five minutes to 24 hours a day. The menu will also help you to keep track of your daily reading time and find new books.

So these are all the iOS 17.5 update features that you can avail in India. Now, you might be wondering, why iOS 17.5.1 was released so soon and what’s there in it. Keep reading then.

iOS 17.5.1 – What’s there in it?

After updating to iOS 17.5, many users complained that the photos that they had deleted were resurfacing. This was happening due to a bug in the iOS 17.5. Apple took no time to fix the bug and launched iOS 17.5.1 within a week. In this updated iOS version, you will get all the features of iOS 17.5, minus the bug.

Is it necessary to update iOS or not?

For those who are still confused regarding whether to update to the latest version of iOS, it is recommended to always use the latest versions of Apple iPhone software update. Not only it will ensure the safety and longevity of your device, but it is a primary step in almost any troubleshooting.

Read – Apple iOS 17.3 – When & what to expect?

How to update?

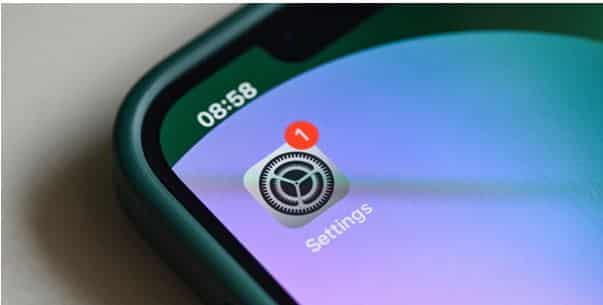
To update to the latest software version, go to Settings>General>Software Update, and then tap on Update Now under the available software update. Any user using iPhone X or later can install iOS 17.5 or 17.5.1.

Source: Tech.co

So that’s all you need to know about the latest iOS. It’s high time you get into the healthy habit of keeping your iPhone iOS updated.

Got issues with your Apple Watch, iPhone, iPad, MacBook or any Apple device? Is a trustworthy repair centre not in sight? Don’t worry, the experts can help you get a free pickup and drop service and provide a bright repair solution for all your Apple woes. Call today for your iPhone battery replacement, screen replacement, and other top repair services.

How to Repair Cracked iPhone Back Glass?

Source: GadgetGone

Most of the iPhone users who have dealt with a cracked iPhone back glass admitted that their hearts shattered when their iPhones fell on the ground. You must be feeling the same right now. Well, don’t worry, it was meant to happen someday. And to be honest, getting it repaired is not that much of a hassle if you have comprehensive knowledge. So, here you will find out iPhone back glass repair cost, options, and all that you need to know.

But before that. Let’s talk about the iPhone back glass a bit. Apple first used back glass in the iPhone 4. However, it was not until the launch of the iPhone 8 series that they introduced wireless charging. Due to its low conductivity, glass enables wireless charging. All iPhone models from the iPhone 8 support Qi wireless charging (up to 7.5 watts) and iPhone 12, 13, 14, and 15 series support MagSafe wireless charging (up to 15 watts). So the back glass of your iPhone is not just to make it look more sleek. There’s a greater purpose.

Read – iPhone ear speaker not working? Let’s make it work!

Source: www.stanleymilton.com

Therefore, don’t even think about a DIY repair. It can damage the iPhone even further. It is better to just simply put a back cover and hide the cracks than to try repairing it yourself. But even with a back cover, there’s always a risk of the crack spreading or water seeping in. So it’s better to get it replaced by a professional.

iPhone back glass repair options and costs

No matter which city you live in, go to the nearest market with mobile repair shops, and you will get an assurance that your iPhone back glass will be replaced and it will work the same. But one thing you don’t know is that these local mobile repair shops don’t have access to Original Equipment Manufacturers or OEM spare parts. These are genuine Apple spare parts and if these are not used in any repair work, the quality of the iPhone might deteriorate and it can affect the resale value and warranty. So we are keeping the local repair shops out of the equation. So below you will find only the most trusted options.

Apple Authorized Service Providers

You can get your iPhone back glass repaired in any Apple Authorized Service Centre. For that, you have to visit your nearest Apple Store and book an appointment.

Source: Apple

The cost differs for AppleCare+ users and non-users. If you have subscribed to AppleCare+ the back glass repair cost for almost any iPhone will be around Rs 2500/-. But a two-year subscription cost of AppleCare+ for say, iPhone 13 is around Rs 14,900/-. Without AppleCare+, the iPhone 13 back glass replacement cost at an Apple Authorized Service Centre is around Rs 32,500/-.

Read – 5 Ways to Clear Up Storage in Your iPhone

Rapid Repair

Rapid Repair is the best Apple gadget repair service provider in India. They use only genuine OEM spare parts for repair and replacements. Not just that, they provide a lifetime warranty on their service. You can visit their website or call them on 8130609004 to book a service.

The cost depends on the model. For instance, Rapid Repair charges around Rs 6,500/- + GST for iPhone 13 back glass replacement.

As Rapid Repair uses OEM spare parts, your replaced iPhone back panel will be able to support Qi and MagSafe wireless charging. They also offer free doorstep pickup and delivery and a fast turnaround time.

How to connect Apple Pencil to iPad?

Got a new Apple Pencil? Good decision. Now you will get the best out of your iPad. Pair Apple Pencil with iPad and your user experience will reach a whole new level. Like a pen on paper, you can use an Apple Pencil on your iPad to write, sketch, highlight or even sign a document. The handwritten notes can be transformed into texts. The coalition of an iPad with an Apple Pencil can realise any 90s kid’s fantasy of transforming their notebooks into a magical one.  But the first step of this magical journey is to pair the devices.

Source: Apple

But before getting into the pairing process, there’s another aspect to look at.

Apple Pencil compatibility with different iPad models

Source: iDownloadBlog

Not all models of Apple Pencil are compatible with all models of iPad. As of May 2024, there are three models of Apple Pencil, the 1st Generation, the 2nd Generation, and the USB-C model. For tablets, there are different generations of iPad, iPad Pro, Air, and Mini. So let’s have a quick look at which Apple Pencil works with which iPad.

Apple Pencil (1st Generation) –

  • iPad mini (5th generation)
  • iPad (6th generation and later)
  • iPad Air (3rd generation)
  • iPad Pro 10.5-inch
  • iPad Pro 9.7-inch
  • iPad Pro 12.9-inch (1st & 2nd generation)

Apple Pencil (2nd Generation)

  • iPad mini (6th generation)
  • iPad Air (4th generation and later)
  • iPad Pro 12.9-inch (3rd generation and later)
  • iPad Pro 11-inch (all generations)

Apple Pencil USB-C

  • iPad (10th generation)
  • iPad mini (6th generation)
  • iPad Air (4th generation and later)
  • iPad Pro 11-inch (all generations)
  • iPad Pro 12.9-inch (3rd generation and later)

Read – Common Apple Watch Problems: How to solve them?

Source: Redmond Pie

So before proceeding, please make sure that your iPad is compatible with your Apple Pencil.

How to connect the Apple Pencil to the iPad?

Now, the method to pair Apple Pencil with iPad varies for different models. Below, you will get the steps for each of them. But before that, you must update to the latest iPadOS. Also, iPad 10th generation users will need a USB-C to Apple Pencil Adapter and Apple Pencil USB-C users need to get hold of a USB-C cable.

Source: iDestiny

To pair Apple Pencil (1st Generation),

  • Remove the Apple Pencil cap.
  • Plug it directly into the Lightning Connector of your 6th to 9th-generation iPads. For an iPad 10th generation, plug it with a USB-C to Apple Pencil Adapter.
  • Tap on the pair button that will appear on your iPad.
  • Once paired, unplug your Apple Pencil from the Lightning Connector or USB-C to Apple Pencil Adapter.

Source: Quora

To pair Apple Pencil (2nd Generation),

  • Find the Magnetic Connector of your iPad on its side.
  • Attach your Apple Pencil to it.
  • Wait for them to pair.
  • Then remove your Apple Pencil.

Source: Apple

To pair Apple Pencil (USB-C),

  • Slide the end of your Apple Pencil to open the USB-C slot.
  • Then plug a USB-C cable into it.
  • Plug the other end of the cable into your iPad.
  • Wait for the pair button to appear on your iPad and tap on it.
  • Once paired, unplug the cable.

Your devices will remain paired until your iPad is restarted or the Apple Pencil is paired with another device. If your Apple Pencil won’t connect to your iPad, make sure you are using the latest version of iPadOS, your Apple Pencil is compatible with your iPad, and there is no physical damage to your devices. In the case of the latter, you can always seek professional help.

Got issues with your Apple Watch, iPhone, iPad, MacBook or any Apple device? Is a trustworthy repair centre not in sight? Don’t worry, the experts can help you get a free pickup and drop service and provide a bright repair solution for all your Apple woes. Call today for your MacBook battery replacement, screen replacement, and other top Apple Watch Repair services.

How to turn off an Apple Watch?

The introduction of Apple Watches in modern human lives has paved the way for a seamless connection. What makes an Apple Watch different from any other gadget is the sheer control that it gives its users in monitoring all major aspects of their lives. Be it a thorough tracking of fitness activities, detailed health monitoring, or the ease of communicating with the world through your wrist, Apple Watch is a companion you can vouch for. Many users like to wear it on their wrists throughout the day. But just like with any other gadget, it is important to give it a proper rest at times.

Source: iDownloadBlog

Turning off an Apple Watch occasionally can help preserve its battery life. Moreover, no matter how much you like to use a gadget, it is important to take a break from it. Also, in case you need troubleshooting of your Apple Watch, turning off your Apple Watch can be the first step, before restarting it. So turn on the reading mode if you are wondering how to turn off my Apple Watch.

Read – Tips to extend Apple Watch Battery Life

How to turn the Apple Watch off?

Almost in any Apple Watch model, you will find an elongated side button. In the latest version of watchOS, to turn off an Apple Watch, you just have to press that side button and hold it, until the sliders appear. Then you have to drag the slider to the right, and your Apple Watch will turn off.

Source: Wareable

Now this will answer your question about how to power off Apple Watch, but ever wondered what to do if your Apple Watch fails to turn off?

Read – Apple Watch Not Pairing: How to Fix It

What to do if Apple Watch doesn’t turn off?

If your Apple Watch fails to turn off, you can use the method to force start it. To do that, simply press and hold the side button and crown button simultaneously for at least ten seconds.

Source: Apple Support

So now you know how to turn Apple Watch off. Make sure you use your gadget responsibly and take a break from it whenever needed. Keep enjoying the marvelous features of your Apple Watch.

Got issues with your Apple Watch, iPhone, iPad, MacBook or any Apple device? Is a trustworthy repair centre not in sight? Don’t worry, the experts can help you get a free pickup and drop service and provide a bright repair solution for all your Apple woes. Call today for your MacBook battery replacement, screen replacement, and other top Apple Watch Repair services.

How to Fix Mac Folder with a Question Mark?

The creation of the MacBook is a milestone in the history of computing. Its users worldwide can vouch for its reliability, regardless of which MacBook model they use. But no one can deny, it’s just a mere machine. And machines are prone to errors. So don’t panic if you are seeing a Mac folder with question mark flashing on your screen while starting the device. It’s an issue that can be resolved easily.

Source: Switch to Mac

If you see a flashing question mark on a folder, it can indicate that your MacBook’s startup disk is not available. Or it doesn’t contain a working macOS. A startup disk is usually an internal disk that contains the Mac operating system. This issue occurs when the macOS data on the hard drive somehow gets corrupted.

This may sound like a great problem, but it’s actually not! It can be fixed by following a few simple troubleshooting steps. Let’s figure them out.

Read – How to Find a Lost or Stolen MacBook?

Steps to fix the MacBook folder with a question mark

There are two tried and tested methods to fix this issue. The first one is to use the Disk Utility to repair the startup disk. Most of the cases are resolved by this method. The second is to reinstall your macOS. So let’s go through the first method first.

Source: Apple Support

  1. Shut down your MacBook
  2. Press and hold the power button for 10 seconds until your device shuts down.
  3. Go to macOS Recovery
  4. Press the power button and then press Command and R.
  5. You will get to macOS Recovery page.
  6. Select Disk Utility
  7. Select Disk Utility from the available options.
  8. Click on Continue.
  9. Select your Disk
  10. On the Disk Utility Menu Bar, click on View.
  11. Then click on Show All Devices.
  12. On the Side Bar, you will get all available disks including your startup disk.
  13. Repair your startup disk
  14. Under your startup disk, you might find multiple containers and volumes.
  15. Select the last volume of the disk, then click on the First Aid tab at the Menu Bar.
  16. Click on Run and the checkup will start.
  17. Once the last volume is checked, repeat the process to check all other available volumes, if any, followed by the containers, and then the entire startup disk in the end.
  18. Restart you MacBook
  19. Exit Disk Utility.
  20. Then restart your MacBook.

Source: Apple Support

This method might fix the issue for once and all. If you don’t see the Mac folder with question mark again after restarting your device, then you don’t have to follow the second method. In case the issue persists, here’s another method.

  1. Go to macOS Recovery
  2. Press the power button and then press Command and R.
  3. You will get to macOS Recovery page.
  4. Select the option to reinstall macOS
  5. Select Reinstall macOS Sonoma.
  6. Click on Continue.
  7. Follow the instructions
  8. After clicking on Continue, follow the instructions to reinstall macOS.
  9. You might have to provide your Mac login password.
  10. Don’t put your Mac to sleep until the installation is complete.
  11. After the installation, your Mac might start up to Set Up Assistant.
  12. Follow the instructions to complete the set up.

Source: ZDNet

Read – How to Optimize Battery Life on MacBook?

Make sure all your data is backed up before you start reinstalling your macOS. Hopefully, the issue of the Mac folder with question mark will be resolved by either of these two methods. If it continues to bother you, there might be chances that the problem is deep-rooted and you have to consult an expert.

Got issues with your Apple Watch, iPhone, iPad, MacBook or any Apple device? Is a trustworthy repair centre not in sight? Don’t worry, the experts can help you get a free pickup and drop service and provide a bright repair solution for all your Apple woes. Call today for your MacBook battery replacement, screen replacement, and other top repair services.

Tips to extend Apple Watch Battery Life

Throughout the years, one constant concern for all Apple Watch users has been its battery life. Especially for those, whose first job after waking up is to wear it on their wrist and the last job of the day is to remove it before falling asleep. As a gadget that covers all aspects of its users’ lives, from their workout routine to health monitoring to appointment reminders, the Apple Watch battery must last until its users’ day is over. But often, that is not the case. As a device that responds with the raising of a wrist, on days, an Apple Watch is prone to exhaust its energy too soon. But there are ways to save battery usage and use it in the most productive way.

Source: Inc Mag

How to improve Apple Watch battery life?

There are several apps and features that keep on running in the background of your Apple Watch. Chances are there that most of them are not of any use to you most of the time. Below, you will find out about them, along with some basic steps to improve your Apple Watch’s battery life.

Read – Apple Watch is not Charging: What to do?

Update to the latest software

Make sure your gadget is using the latest WatchOS as it significantly affects not just the battery life but overall battery health.

To do that,

  • Make sure your Apple Watch is connected to the WiFi.
  • Open the Settings app on your Apple Watch.
  • Go to General>Software Update.
  • If any update is available, Install it.
  • Put it on a charge while it is updating.

Use Low Power Mode more frequently

Source: Apple Support

When you know you don’t need your Apple Watch to be very active, turn on the Low Power mode. It will disable certain features, like the Always On Display and Heart Rate Monitor, but it will prolong the gadget’s battery life. To turn on Low Power Mode,

  • Swipe up from your home screen.
  • On the Control Centre, click on Battery Life Percentage.
  • Toggle Low Power Mode on.

Disable Heart Rate Monitor

If your Apple Watch is low on charge and you want it to run for longer until it’s recharged, this tip can help you. Turn off the heart rate monitor and it will extend the Apple Watch battery life. To do that, go to Privacy>Health>Heart Rate and toggle the monitor off.

Turn off the Wake Screen on Wrist Raise

Source: My Healthy Apple

Often your Apple Watch turns on unnecessarily when you raise your wrist. This drains the battery faster than you expect. Turn this feature off and it will save your Apple Watch battery from draining quickly.

  • Open Settings on your Apple Watch
  • Select General
  • Tap on the Wake Screen
  • Turn off Wake Screen on Wrist Raise

You can turn on your Apple Watch when needed by pressing the Crown Button.

Customize the notifications

Reducing the amount of notifications on your Apple Watch can help improve its battery life. Instead of getting all the notifications on your Apple Watch that you get on your iPhone, choose the notifications that you want on your Apple Watch. You can do it on your iPhone by opening the Watch App, clicking on the Mirror iPhone Alerts From, and then disabling the apps that you don’t want a notification from on your Apple Watch.

Source: Apple Insider

Read – Apple Watch Not Pairing: How to Fix It

These tips will help you to save your Apple Watch battery on a normal day. But apart from these, it is important to keep on monitoring your Apple Watch battery health. This will give you an overall idea about the lifespan of your gadget’s battery. You will get to know how much time is left before the battery needs a replacement. To check your Apple Watch battery lifespan, go to the Settings app, tap on Battery, and then on Battery Health. It will show the maximum charge that the battery can hold. A lower number will indicate that your Apple Watch battery needs a replacement.

Got issues with your Apple Watch, iPhone, iPad, MacBook or any Apple device? Is a trustworthy repair centre not in sight? Don’t worry, the experts can help you get a free pickup and drop service and provide a bright repair solution for all your Apple woes. Call today for your Apple Watch battery replacement, screen replacement, and other top repair services.

whatsapp logo