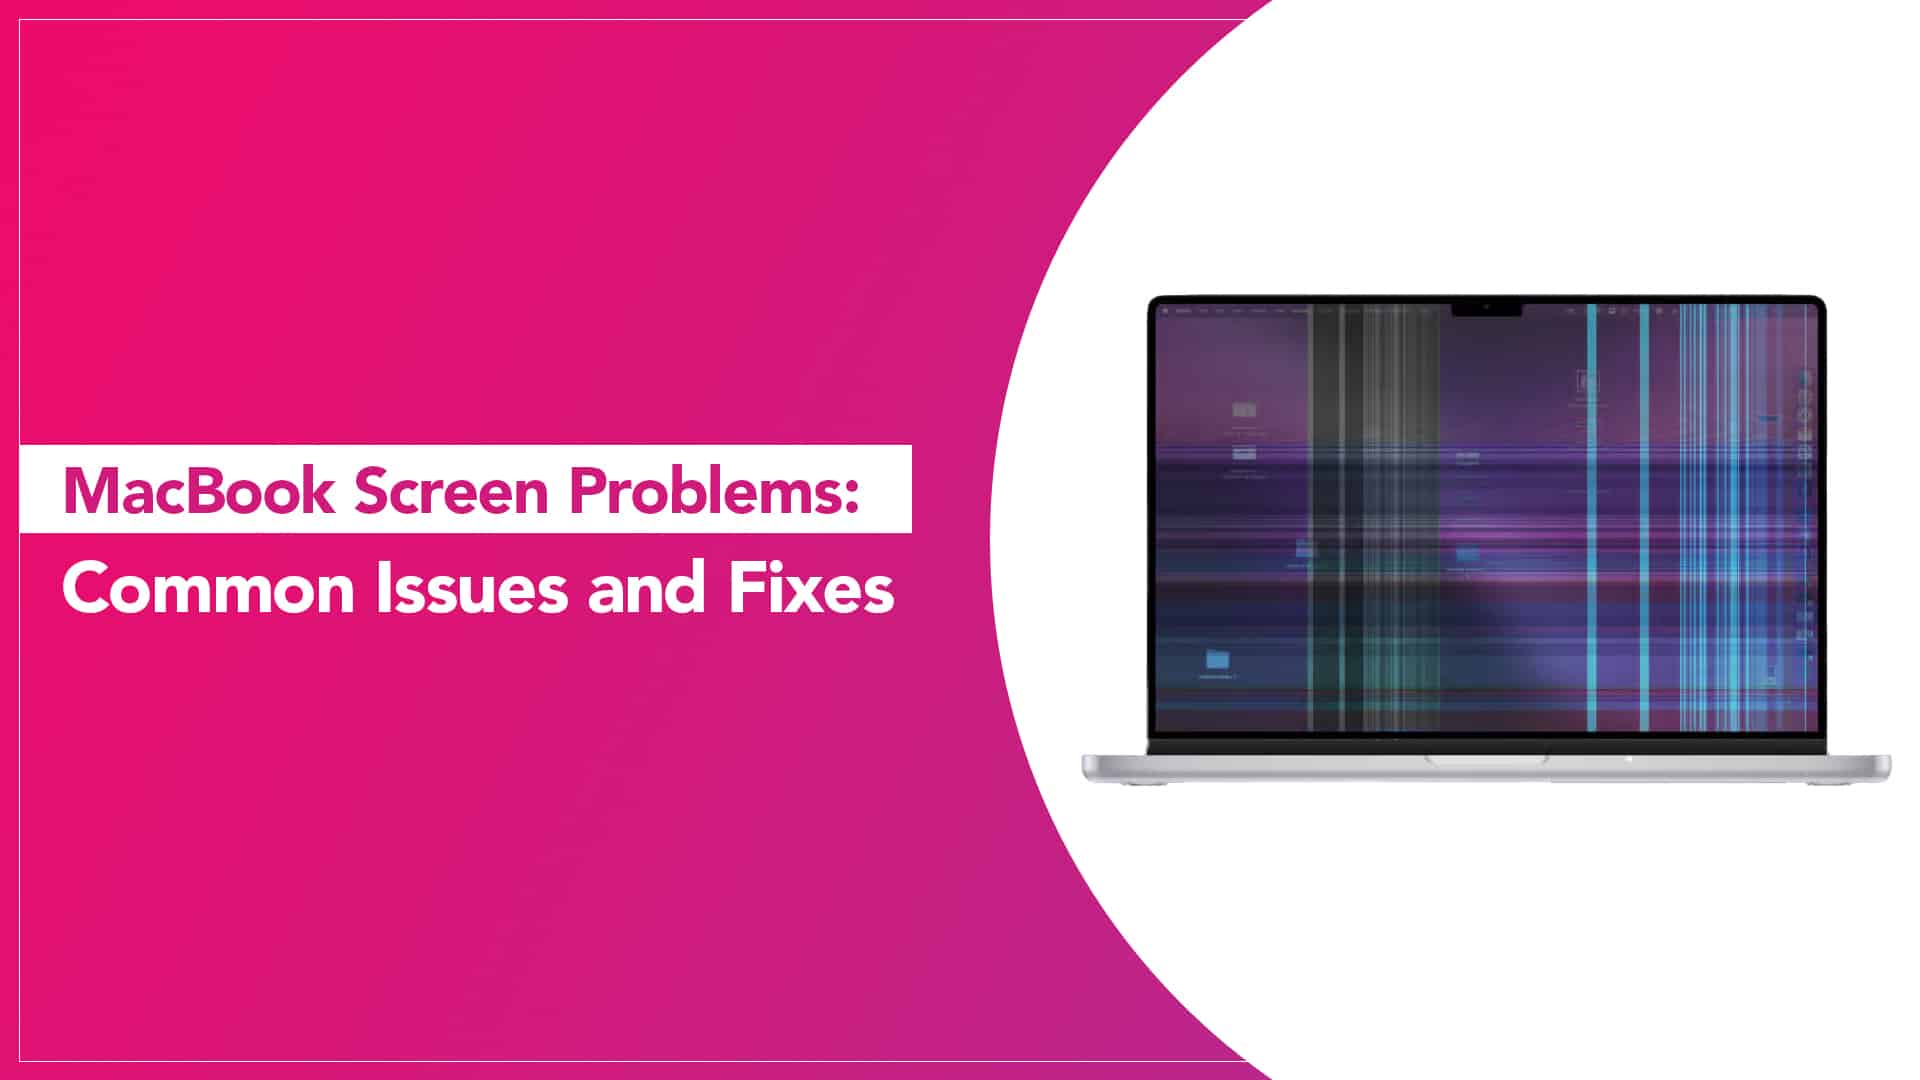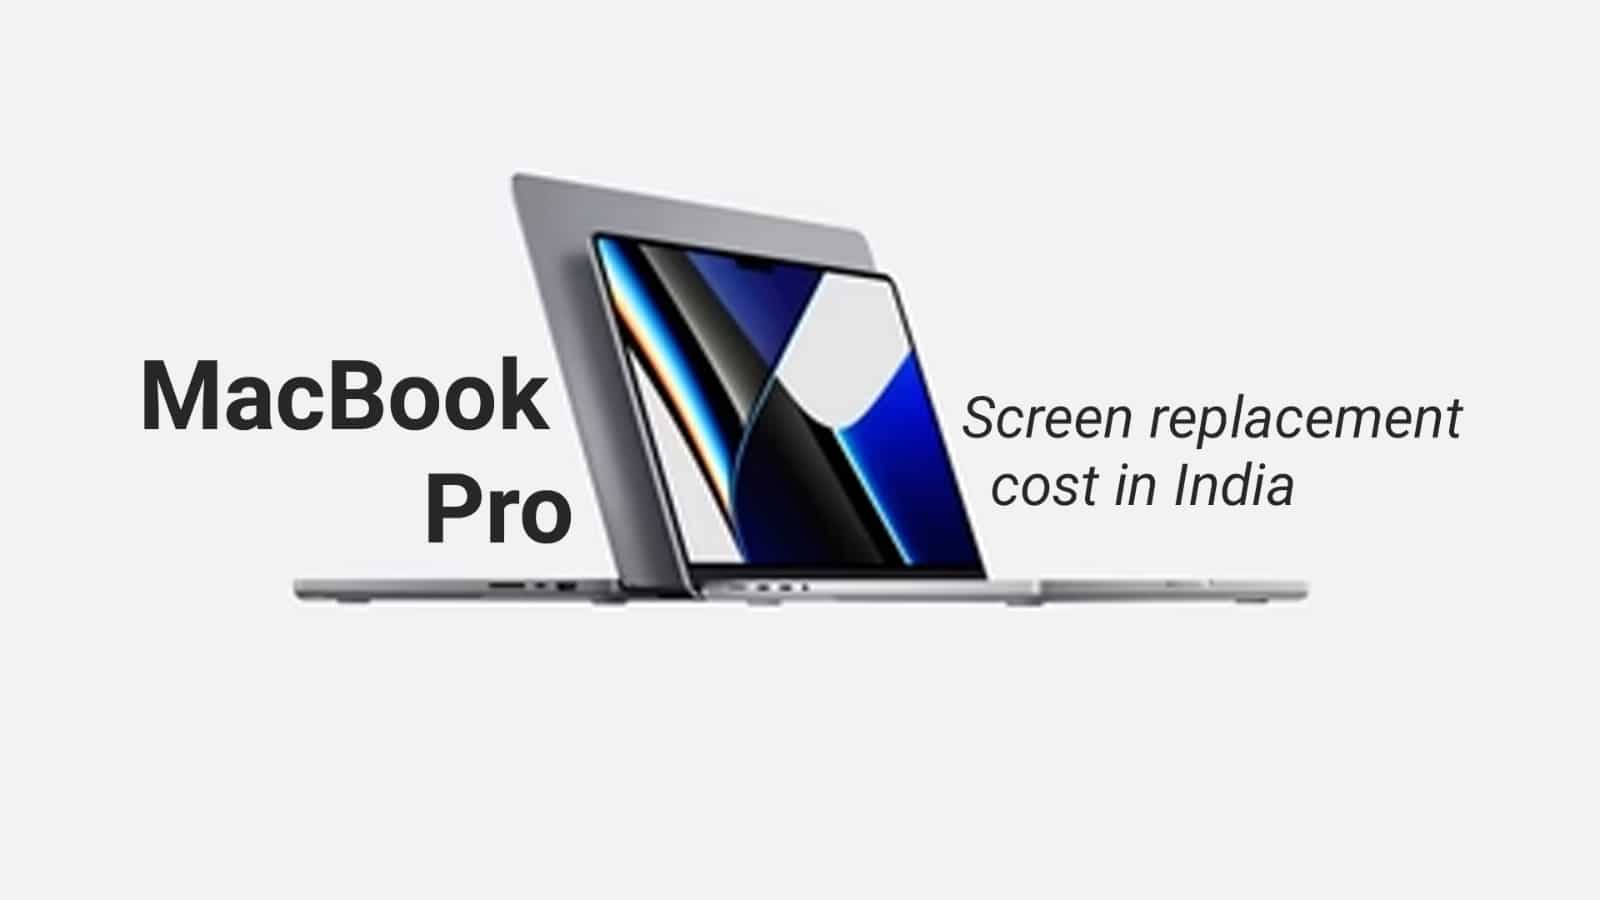
If your Apple MacBook Pro screen is cracked, flickering, showing lines, or completely black, you are probably wondering how much it will cost to replace the display. Since MacBook displays are built with advanced Retina and Liquid Retina technology, screen replacement requires professional expertise and high-quality spare parts.
In this guide, you will learn about MacBook Pro screen replacement costs in India, what to expect from a repair service provider, and how to choose the right repair centre for your device.
MacBook Pro Screen Replacement – What Should You Expect?
Before handing over your MacBook Pro for repair, make sure the service provider meets these important standards.
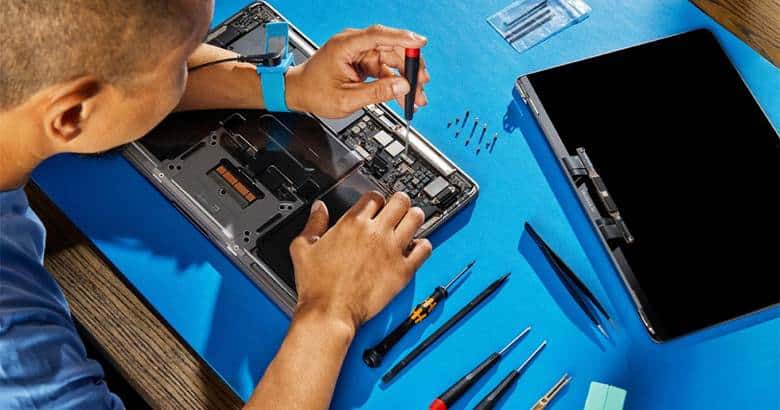
1. Experience in MacBook Repairs
MacBook Pro devices are engineered differently from regular laptops. Their compact internal design requires expert-level repair skills. Always choose technicians who specialize in MacBook repairs.
2. Quality of Display Parts
The quality of the replacement screen directly affects your viewing experience. Using low-quality duplicate screens may result in poor brightness, color accuracy, and reduced durability. Always ask whether the repair centre uses original Apple display panels.
3. Turnaround Time
Since a MacBook Pro is often used daily for work, business, or studies, repair time matters. A professional repair centre should clearly tell you how long the replacement will take.
4. Warranty on Repairs
A warranty gives peace of mind after the repair. Reliable service providers usually offer warranty coverage on both the display and the repair work.
5. Additional Services
Many premium repair centres also offer:
- Free device diagnostics
- Doorstep pickup and delivery
- Data safety assurance
- Post-repair support
These services can make the repair process more convenient and stress-free.
Source: iFix India
Read More – MacBook Air Screen Replacement Cost
MacBook Pro Screen Replacement Price in India (2026)
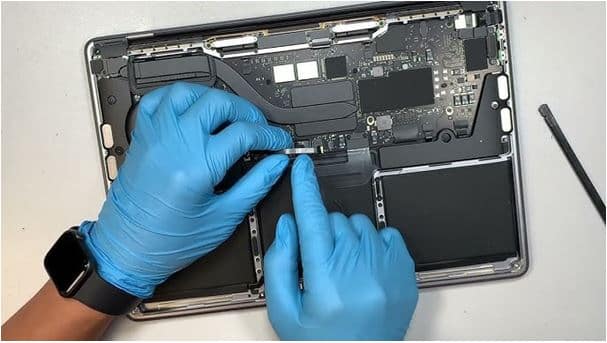
Replacing a MacBook Pro screen generally involves changing the complete display assembly, including:
- Retina display panel
- Camera module
- Backlight assembly
- Flex cables
The price depends on the MacBook model and whether you choose an original new display or an original used display panel.
Latest MacBook Pro Screen Replacement Cost
| MacBook Pro Model | Apple Original Used | Apple Original New |
| MacBook Pro 2017 13-inch | Rs 18,000 | Rs 42,000 |
| MacBook Pro 2017 15-inch | Rs 25,000 | Rs 47,000 |
| MacBook Pro 2018 13-inch | Rs 25,000 | Rs 42,000 |
| MacBook Pro 2018 15-inch | Rs 28,000 | Rs 47,000 |
| MacBook Pro 2019 13-inch | Rs 30,000 | Rs 42,000 |
| MacBook Pro 2019 16-inch | Rs 35,000 | Rs 52,000 |
| MacBook Pro M1 13-inch | Rs 35,000 | Rs 42,000 |
| MacBook Pro M1 14-inch | Rs 38,000 | Rs 45,000 |
| MacBook Pro M1 16-inch | Not Available | Rs 56,000 |
| MacBook Pro M2 13-inch | Not Available | Rs 45,000 |
| MacBook Pro M2 14-inch | Not Available | Rs 48,000 |
| MacBook Pro M3 16-inch | Not Available | Rs 56,000 |
Prices are exclusive of taxes and may vary depending on availability and condition.
Source: YouTube
Why Choose Original MacBook Screens?
Using an original Apple display helps maintain:
- Accurate color reproduction
- Retina display clarity
- True Tone functionality
- Proper brightness levels
- Long-term durability
Although original screens cost more, they ensure the best performance and user experience for your MacBook Pro.
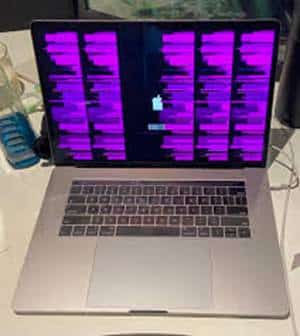
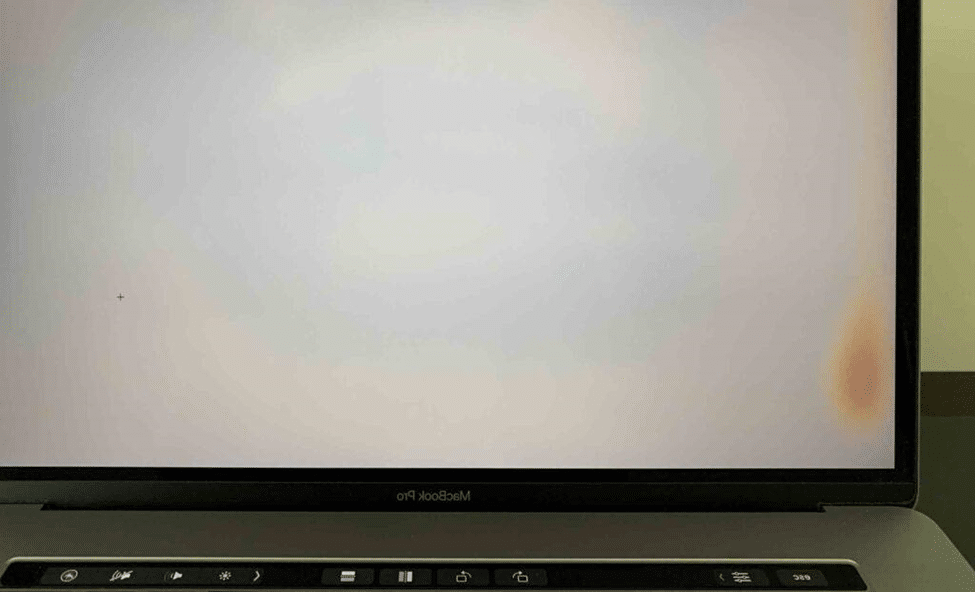
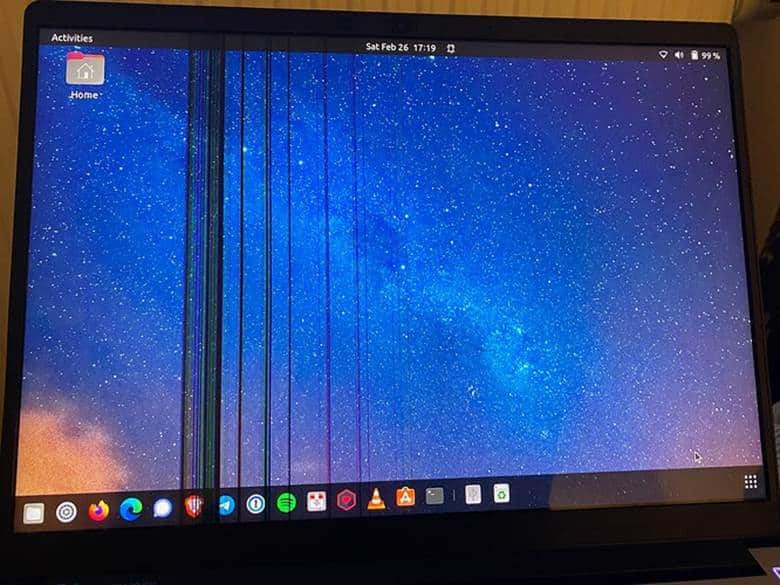
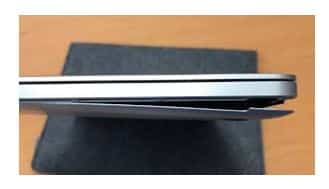
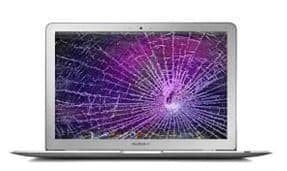
Common Signs You Need a MacBook Pro Screen Replacement
You may need a screen replacement if your MacBook Pro has:
- Cracked or broken display
- Black spots or dead pixels
- Flickering screen
- Vertical or horizontal lines
- Backlight bleeding
- No display issue after accidental damage
Ignoring these issues may lead to further hardware damage over time.
Conclusion
A damaged MacBook Pro display can affect both productivity and user experience. Choosing a trusted repair provider with experienced technicians and original spare parts ensures your device works like new again.
Before booking a repair, always compare:
- Display quality
- Warranty
- Repair time
- Service support
- Overall cost
Investing in quality repairs can help extend the life of your MacBook Pro and maintain its premium performance.
FAQs
1. How much does MacBook Pro screen replacement cost in India?
The cost usually ranges from Rs 18,000 to Rs 56,000 depending on the MacBook Pro model and display type.
2. Is it worth replacing a MacBook Pro screen?
Yes, if the device is otherwise working well, replacing the screen is usually more affordable than buying a new MacBook.
3. How long does MacBook screen replacement take?
Most professional repair centres complete the replacement within 1 to 3 days, depending on parts availability.
4. Can a cracked MacBook Pro screen be repaired?
In most cases, the entire display assembly must be replaced instead of repairing only the glass.
5. Do repair centres provide warranty on MacBook screen replacement?
Yes, many reputed repair providers offer warranty coverage on the replaced screen and repair service.