If you’ve recently spotted an orange or yellow patch on your MacBook screen, you’re not the only one. These discoloured patches show up quietly, stay in the same place, and refuse to disappear, no matter what brightness or colour profile you choose. And just like the white spot problem on iPhones, this isn’t a software issue. It’s a sign of hardware-level damage or internal stress in the display.
Before you decide whether to live with it or get it fixed, it helps to understand what this Orange Spot on MacBook Screen actually is, why it appears, and what realistically solves it.
What Is an Orange Spot on a MacBook Screen and Why It Appears?
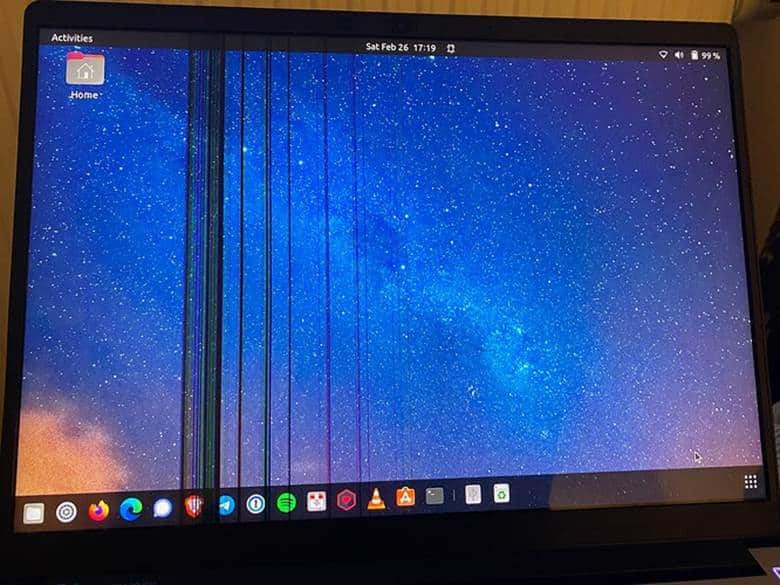
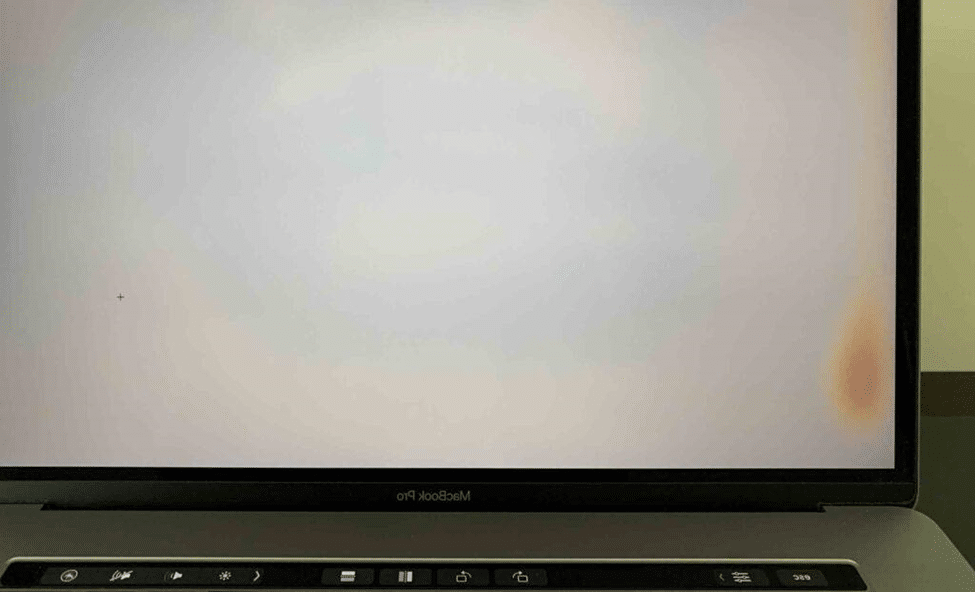
An Orange Spot on Mac Screen is a localised discolouration where the display appears warmer or yellowish compared to the rest of the panel. It’s most visible on white or grey backgrounds and remains fixed in one place.
The key things to know:
• It does not appear in screenshots
• It does not shift when you change macOS themes
• It does not go away after a restart or SMC/NVRAM reset
If it stays on the screen but doesn’t show up in screenshots, the Orange Spot on MacBook Pro Screen is a display hardware issue.
Source: Tech Medic VT
Why You See an Orange Spot on MacBook Pro/Air Screen (Real Reasons)
Different MacBook display types fail differently, but the root cause is always some form of heat, moisture, or pressure damage.
1. Heat Damage
MacBooks generate more internal heat than most laptops. Over time, this can discolour diffuser films, create hotspots, and cause internal adhesives to age unevenly—leading to an Orange Spot on MacBook Screen.
2. Liquid or Moisture Entry
Even slight moisture exposure can stain internal layers and create orange or yellow patches over time. Humidity combined with heat accelerates this issue.
3. Pressure or Structural Stress
Storing a MacBook in tight bags or closing the lid on small objects can compress display layers, resulting in an Orange Spot MacBook Screen.
Which MacBook Models Are More Likely to Get Orange Screen Spots?
Older LCD-Based MacBooks (2012–2017)
These models are prone to diffuser ageing, heat spots, and backlight discolouration that often appear as orange or yellow patches.
Retina MacBooks (2015–2020)
Heat concentration, adhesive degradation, pressure damage, and coating issues can all lead to Orange Spot on MacBook Screen problems.
Mini-LED MacBooks (2021+)
Less common, but Mini-LED panels can still develop Orange Spots due to early moisture exposure or localised heat zones.
How to Confirm If the Orange Spot on MacBook Screen Is Hardware Damage?
When an orange spot appears on a MacBook screen, the biggest concern for most users is whether the issue is software-related or actual hardware damage. While the basic checks below can help you identify the nature of the problem, a professional diagnosis is the most reliable way to confirm what’s really going on. An experienced MacBook repair specialist can inspect the display, backlight, and internal components to determine whether repair or screen replacement is required before the damage worsens.
• Screenshot Test
• White/Grey Background Test
• External Display Test
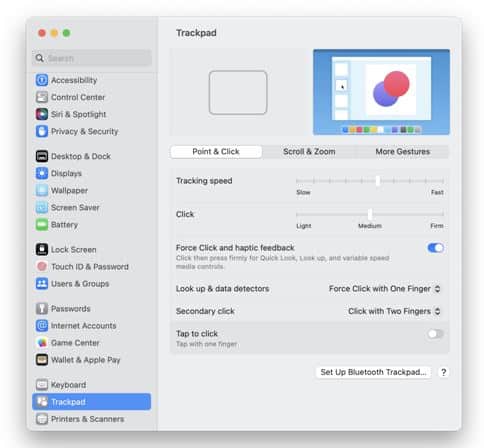
• Brightness Slider Test
• Very Gentle Pressure Test
Can This Be Fixed Without Replacing the Screen?
Short answer: No.
An Orange Spot on MacBook Screen is a physical display problem. Software fixes, resets, or calibration tools cannot reverse panel-layer damage.
Should You Ignore It or Fix It?
Ignoring the Orange Spot on MacBook may result in spreading discolouration and worsening brightness uniformity over time.
Why Screen Replacement Costs Vary
The cost depends on display type, damage severity, model, liquid involvement, and panel availability.
How to Prevent This in the Future
Avoid excessive heat, pressure, moisture, tight sleeves, and closing the lid on any objects.
Read – MacBook Pro Screen Replacement Cost in India
FAQs:
Can orange spots spread over time?
Yes. Heat, pressure, or moisture damage can cause the spot to expand gradually.
Is this covered under Apple warranty?
Coverage depends on the cause. Manufacturing defects may be covered, but liquid or pressure damage usually isn’t.
Can calibration or resetting fix the issue?
No. If the Spot on MacBook Screen doesn’t appear in screenshots, it’s hardware damage.
Can battery swelling cause orange spots?
Rare, but possible in older LCD MacBooks.
Will using an external monitor bypass the problem?
Yes. External displays are unaffected because the issue is limited to the built-in screen.