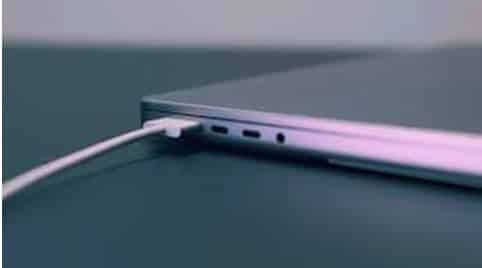
A ringer sound plays as an alert when a charger cable is plugged into an open MacBook. This sound is known as the charging chime. Apple introduced this feature on MacBook in 2015 when they replaced the previous MagSafe charging cables with the USB-C cable for charging Macs. It was done as unlike MagSafe cables, USB-C cables don’t have a light to indicate that a device is being charged. While most may find this feature useful, others may think it unnecessary. They might have thought a few times about how to make MacBook not make a sound when charging. Well, they would be happy to know, it is actually possible. There are three different ways to do it. Let’s see how.
Source: 9to5 mac
How to silence ringer on MacBook?
To turn off ringer on MacBook, you can try any of these three methods. Check anyone of them first, and then plug in the charger to figure out if the charging chime is gone. These methods are effective in various operating software, from macOS 10.15 Catalina to macOS 15 Sequoia. The steps may vary a bit depending on the OS.
Adjust the Alert Volume slider – Go to the Sound settings and turn down the Alert Volume slider. This slider controls the volume of System Sounds, including charging sound. So note that it will also mute other alerts.
Untick the Play User Interface Sound Effects options – If you are not satisfied with the previous method, you can try this one. But this too will mute all system sound effects. Here are the steps to do it,
- Scroll your Apple Menu.
- Look for System Preferences.
- Click on Sound.
- In the Sound Effects tab, untick the ‘Play User Interface Sound Effects’ checkbox.
Disable charging sound with a Terminal app command – This method might sound a bit complicated, but it will turn off the charging sound permanently. Make sure to copy the command properly.
- Open the Terminal app.
- Paste the following command once the app launches.
defaults write com.apple.PowerChime ChimeOnNoHardware -bool true;killall PowerChime - Check if the charging sound is disabled by plugging in the charger.

This command will turn off ringer on MacBook while plugging it into the charger. However, if you change your mind and want to enable the charging sound again, you can go to the Terminal app and paste this command,
defaults write com.apple.PowerChime ChimeOnAllHardware -bool true; open /System/Library/CoreServices/PowerChime.app &
Read – How to Fix Spinning Beach Ball on MacBook
Hope one of these methods will serve your purpose to turn off the charging chime. Do not use any third-party app to disable it, as it may come with its own set of adverse consequences.
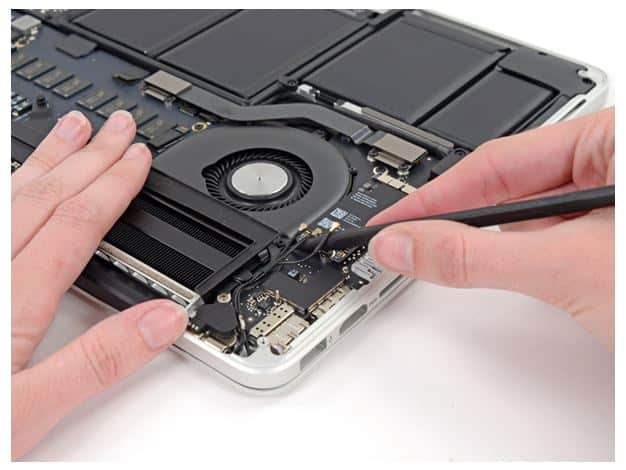
Got issues with your Apple Watch, iPhone, iPad, MacBook or any Apple device? Is a trustworthy repair centre not in sight? Don’t worry, the experts can help you get a free pickup and drop service and provide a bright MacBook Repair solution for all your Apple woes. Call today for your Apple Watch battery replacement, screen replacement, and other top repair services.