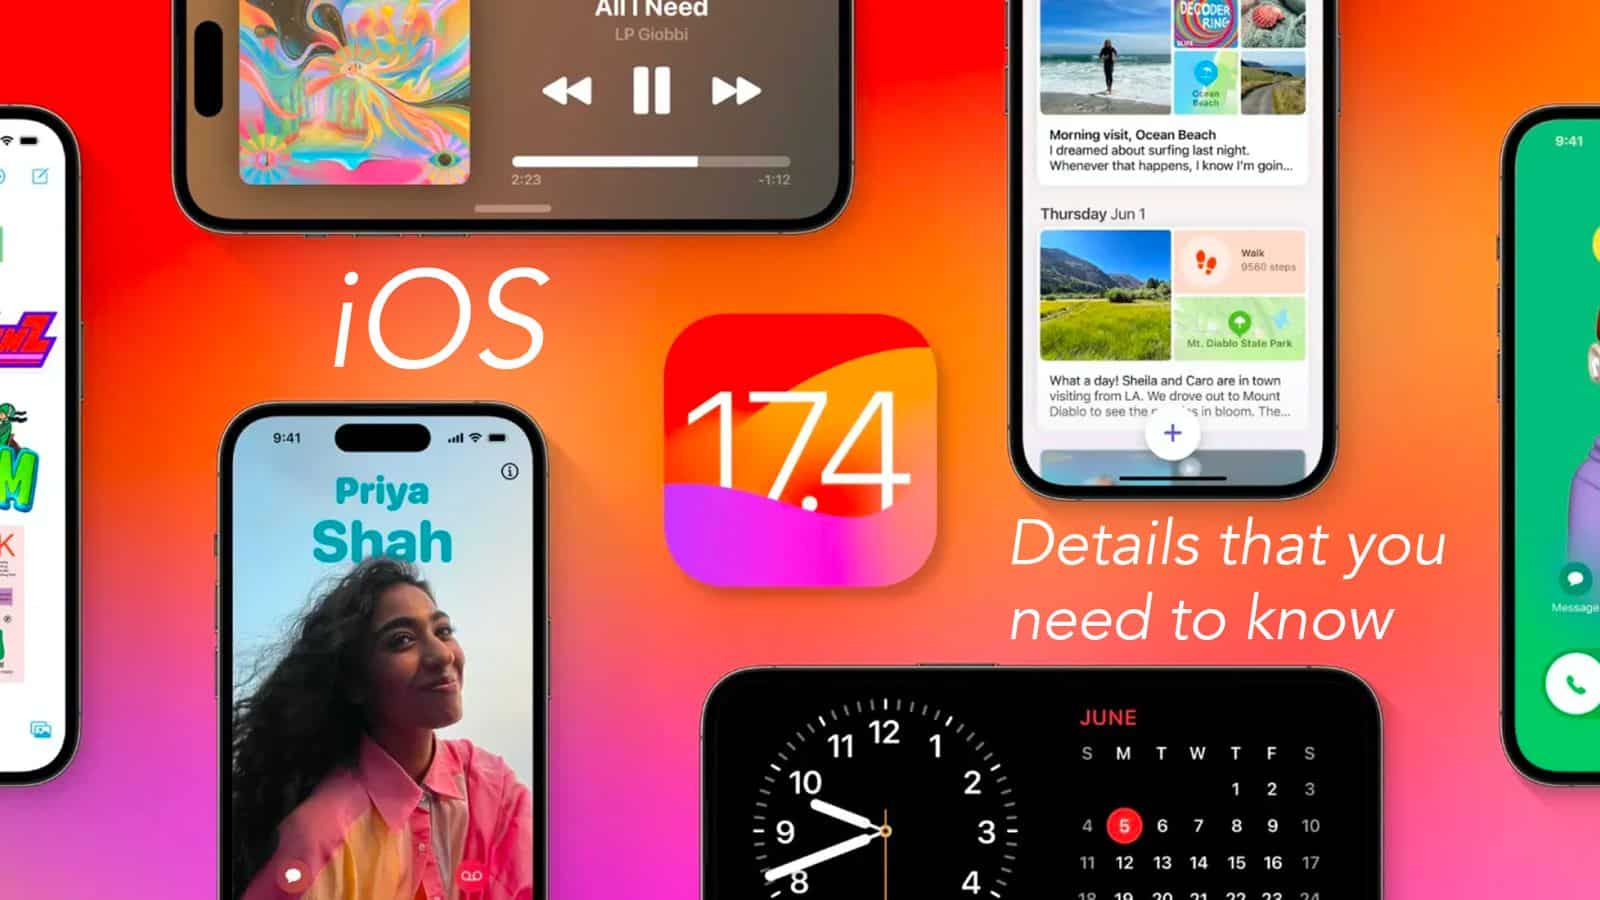
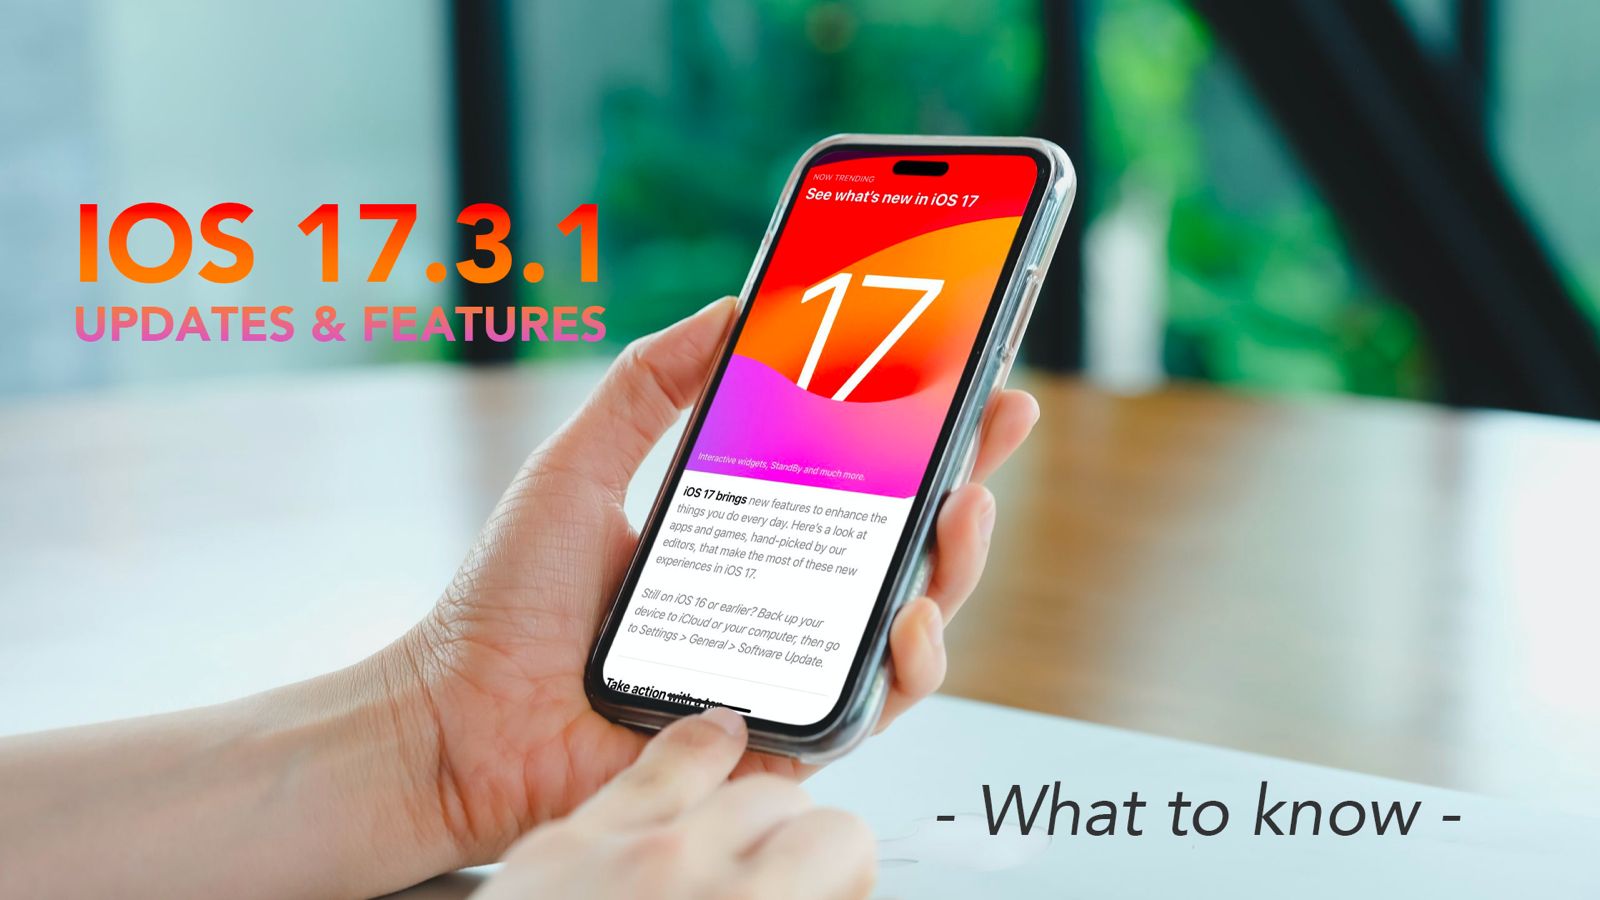
The new iOS update is about to drop like a confetti at a surprise party, and it is about to make your phone experience more thrill than a rollercoaster ride. It is the same as if your iPhone just got a VIP pass to the coolest tech party in town, where the features are so fresh they might do cha-cha on your home screen. But what are the features, and when it’s going to be released? Rumors have aired all around, however, there are still a few days left for the update to drop in the market. To know about all the details regarding iOS 17.4, let’s buckle up to recount the tales of innovation, where your device armed with features can make your PC look basic.
Source: Macworld
Apple has given a big note regarding the 17.4 OS Update. Some biggest updates are available for the people in the European Union, and also a ton of features are available worldwide. Along with this release the users will also get Watch OS 10.4 Beta 5, Mac OS Sonoma 14.4 Beta 5, TV OS 17.4 Beta 5, Vision OS 1.1 Beta 4, iOS/iPad 16.7.6 RC & 15.8.2 RC. But here we will spark a light on iOS 17.4, the size will come in at 6.46 GB on an iPhone 15 series, and the new built number will be 21E217.
iOS 17.4: Release Date: It is believed that the Apple aficionados across the globe will be able to download the update on 6th March.
Source: Unfite
Apple is about to come up with some major change in the app ecosystem in the EU. According to the new rules stipulated by the EU Digital Markets Act, some massive changes are coming up for iPhone users based in the EU. To minimize the risks for the users, Apple is about to come up with the removal of home screen web apps which could happen with iOS 17.4. It is believed that EU users will be able to continue accessing websites directly from their Home Screen through a bookmark with minimal impact to their functionality.
The update will allow users to download and install the apps outside of the app store through alternate marketplaces.
Apple is about to give the EU users more choice over more apps they use as the defaults on their devices.
Alternative payment options will be available and Safari will no longer be the only default browser.
Third-party apps will be able to set the default. Users will be able to get a splash screen while opening safari, and it will help them to choose a new browser.
Read More – iOS 17 – What’s New for you, Compatibility, Feature Do Update or Not?
Source: Gearice
Let’s explore the new iOS 17.4: Features that are coming to your device:
Source: Twitter
Podcast: While playing your favourite podcast, you will get a new feature that will help you to play the transcription of the podcast. Play the podcast, tap on the button, and it will show you the transcription of that podcast and highlight the words which are being said. The search button will allow you to search for any words, and the scrolling option will help you to scroll up and down to find anything you need.
Source: Gearice
Cash Card Virtual Number: Apple has added the Apple cash card virtual number, in case if the Apple Pay option is compromised the users can go to the wallet app, the virtual card number will help them to make a purchase.
Source: idropnews
CarPlay: With the upcoming update, Apple maps will present a new instrument cluster experience with upcoming maneuvers that can be swapped between the main display and the instrument cluster by tapping the map configuration button.
The update to CarPlay on iOS 17.4 will support the cars that are already on the road.
The dual screen CarPlay setup has the navigation system that appears with all the details.
- It will notify you with the warning in case a door is open.
- Display the air pressure of the tires.
- Adjust the temperature inside the car.
- Access the FM.
- Whenever you turn off your car with a CarPlay connection you will get a good-bye message on the screen of the car.
Source: pcmag
Emoji: More than 100 new emojis will be introduced with 17.4, including a phoenix, breaking chain, mushroom, like, emojis with a yes or no signals and many more.
Source: Lavanguardia
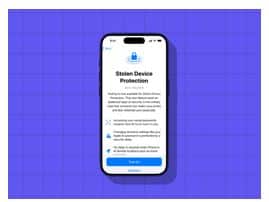
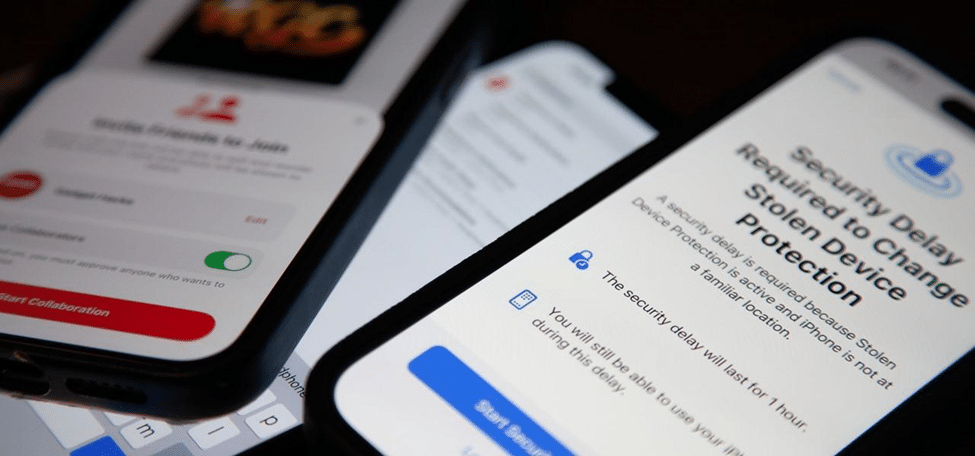
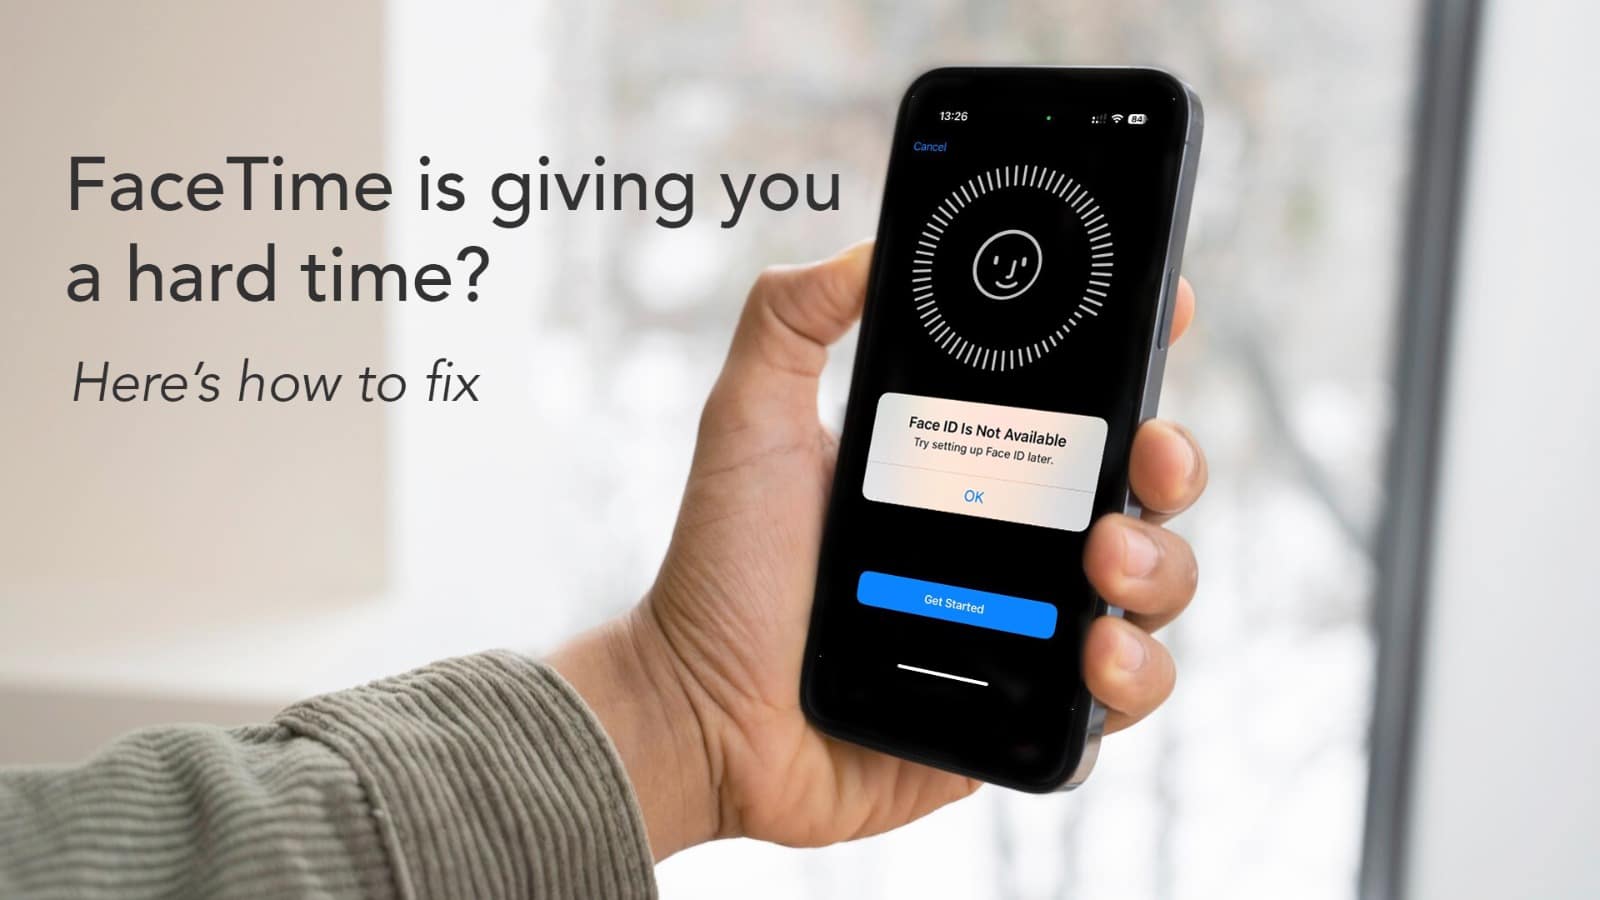
Stolen Device: Apple will update the stolen device protection feature with the new iOS 17.4 version. It will add an extra layer of security to ensure that your data will be safe and secure. Tap on the always option, it will help to delay while changing the security settings as the person has to wait for 1 hour. A FaceID is required for changing the settings.
Source: Macworld
iMessage: The users are about to get a major security update for iMessage in iOS 17.4, Apple is implementing a new pq3 security system which is a state of the art security technology. The new post quantum cryptographic protocol that Apple is going to use in iOS 17.4 and it can increase the security from level 1 to level 3, it can be even more protective for its user’s information.
Source: Techibee
Digital Clock: A new digital clock widget will be added on the home screen.
Source: idropnews
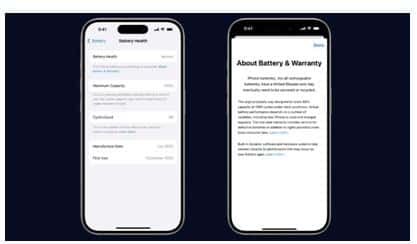
Battery Health Percentage: This new update will come only with the iPhone 15 series, the battery health percentage will not be there, the listing will only display normal unlike before when the users used to get a percentage right once they went into the battery section. You could tap on the option to get further details such as the percentage, maximum capacity percentage, cycle count, manufacture date, and first use.
Source: inkl
Stopwatch: A live activity function for the stopwatch feature on the iPhone will be added. Turn it on from the clock app, it will show a dynamic island and display the lock screen.
Source: idownloadblog
Safari: While browsing any website, if that website has animation the new update will help you to play and pause the animation by tapping on the AA button, and selecting the play all animations option.
Source: MacRumors
Messaging with Siri: This feature will help you to send messages to Siri, and it will be able to read the incoming messages in different languages such as French, German, Spanish, Chinese and more. To enable the option go to Siri, turn on the automatically send messages.
Source: idownloadblog
These are the rumors about the upcoming iOS 17.4, to know the exact details and to download the latest version of iOS, you have to wait for a few days. Your iPhone can be even more smart with the new iOS 17.4 version installed in it. However, it can’t protect your device from any malfunction. For any internal issues, connect to the nearest iphone repair provider recommended by Apple to get a bright solution for all the woes.