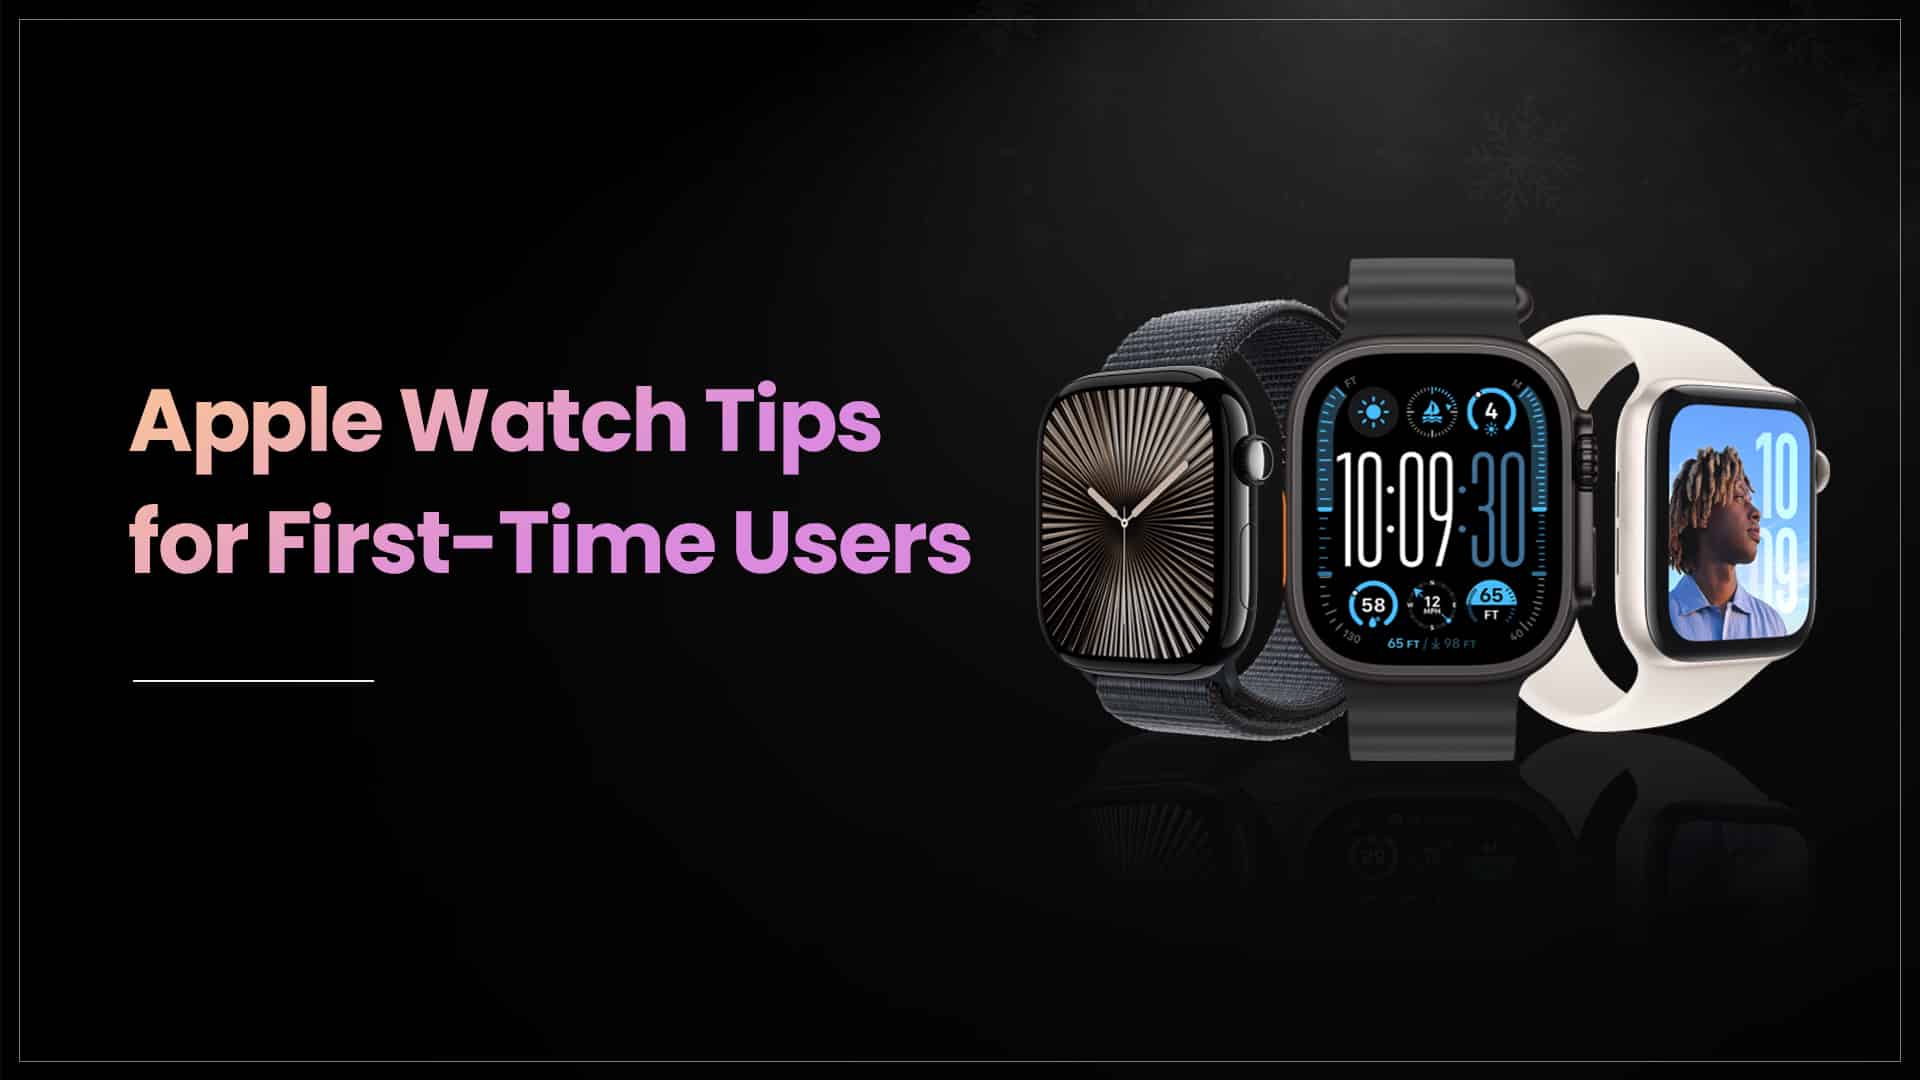
Apple Watch Tips for First-Time Users

If you just got an Apple Watch, you might wonder how to use it. Don’t worry—it’s easy to get started! The Apple Watch is a smart device that helps you stay connected, track your health, and make daily tasks easier. Whether you want to check your messages, track your steps, or set reminders, the Apple Watch can do it all. This guide will share Apple Watch tips to help you set it up and make the most of its features. Let’s get started and explore the exciting things your Apple Watch can do!

How to set up and use a new Apple Watch?

Pair your Apple Watch with your iPhone: Make sure your iPhone is updated with iOS 18 or later. Make sure your Apple Watch is charged. Wear the iWatch on your wrist. Press and hold the side button until the Apple Logo appears on the screen. Hold the iPhone closer to your iWatch. Go to the Apple Watch app on your iPhone. Tap on “New Pair Watch.” Tap on “Set Up for Myself.” Maintain the position of the devices. The Apple Watch will appear in the viewfinder in the Apple Watch app.

Source: Apple Support

Set Up: Select Set Up Apple Watch > Sign up in your Apple account > Create a password.

If already another Apple Watch is set up with your iPhone > select the option, Make this your new Apple Watch > Select app & data and settings > Continue > Choose backup from another Apple Watch to restore.

Cellular Service: You can activate cellular service during setup. Go to the Apple Watch app on your iPhone > Select My Watch > Select Cellular.

Watch Face: Press and hold the watch face to change it. Swipe left or right to browse different designs > Tap on Customize to adjust colours, widgets, and complications such as weather, heart rate, or calendar > You can add useful shortcuts to your watch face, like activity rings, battery status, or reminders.

Read – How to turn off an Apple Watch?

Navigation:

  • Digital Crown: This round button on the side helps you scroll through Apple Watch apps, zoom in and out, and return to the home screen by pressing it once.
  • Side Button: Press it once to see recently used apps or hold it to activate emergency SOS.
  • Touchscreen Gestures: Swipe up to open the Control Center, swipe down for notifications, and tap apps to open them.

Siri: Raise your wrist and say “Hey Siri” or press and hold the Digital Crown.

Installing New Apps: Open the App Store on your watch > Search for the app you want and tap on Install > The app will automatically sync with your iPhone for seamless use.

Customizing Notification: Open the Watch app on your iPhone and go to Notifications > Choose which apps can send alerts to your watch > Customize how you receive notifications, whether by sound, vibration, or silent alerts.

Check the Health App: Monitor your heart rate using the Heart Rate app. Track your sleep patterns to improve your rest. Set reminders to move every hour and stay active throughout the day.

Message & Calls: Receive and reply to text messages and phone calls right from your wrist.

Weather App: Check the current weather conditions and forecasts.

Calendar: Get reminders for important events and meetings.

Source: Apple

Read – Apple Intelligence Features – Things you must know!

By following these Apple Watch tips, you’ll quickly learn how to enjoy all the great features your watch has to offer. Whether you’re using it for fitness, communication, or daily convenience, the Apple Watch is a powerful tool to help you stay organized and connected. However, for any sort of internal malfunctions get connected to the nearest repair provider. In case you live in a remote area, you have the option to mail your damaged device to the repair provider.

Got issues with your Apple Watch, iPhone, iPad, MacBook or any Apple device? Is a trustworthy repair centre not in sight? Don’t worry, the experts can help you get a free pickup and drop service and provide a bright Apple Watch Repair solution for all your Apple woes. Call today for your Apple Watch battery replacement, screen replacement, and other top repair services.
How to Check if Your iPhone is Original or Not: Let’s Verify:

Buying an iPhone is exciting, but it can also be tricky if you don’t know how to confirm if it’s real. Many people end up with fake or counterfeit iPhones because they don’t check carefully before buying. The good news is that there are simple ways to make sure you’re getting an original iPhone. In this blog, we’ll explain how to check if the iPhone is original step by step. Whether you’re buying a new or used iPhone, this guide will help you avoid scams and make a smart purchase. Let’s get started!

Methods to ensure an iPhone is original

Source: iDrop News

Below you will find all the methods for iPhone real or fake checks. Each methods contain multiple steps that are explained in details. Whether you want to enquire about a new iPhone or a used one, you can check as many methods as you want.

Check the IMEI Number

 Every cell phone has a unique IMEI (International Mobile Equipment Identify) number. It’s kind of an ID proof of your cell phone. Go to Settings > General > About > Find the IMEI number.

You can also dial *#06# to check the IMEI number on your screen. Verify if the number on your phone matches the number on the original packaging. There is also another option to Verify. Log in to Apple’s Coverage Page, enter the IMEI number and Apple will confirm if it is a valid product.

Check the Serial Number

To check the Serial number, go to Settings > General > About > Check the Serial Number. If Apple recognizes it then it’s a genuine one.

Check iOS Version

If your iPhone is running on Android or any other operating system, it’s fake. To check it, go to Settings > General > About > Verify if the operating system is iOS.

Source: Apple Support

Read – Why your iPhone isn’t Ringing and How to Fix it?

Connect it with iTunes or Finder

To figure out if it’s original, connect it to a PC with iTunes or connect it to a Mac with Finder. An authentic iPhone will start to sync and the software will recognize it. Whereas, a fake one might create some trouble.

Check the Parts and Service History

Even a repaired or refurbished iPhone can also look brand new. To check it go to Settings > General > About. Here you will get the details of the parts and service history. In case any low-quality parts are installed in it, it will be highlighted as unknown parts.

Check if it is Refurbished

Many refurbished phones are changing owners, so it’s safe to verify. Go to Settings > General > About > Check the first character of the model identifier.

If it starts with M – it’s brand new.

F – Apple-certified refurbished. This device was used before but underwent Apple’s certified refurbishment to make it brand new.

N – Replacement. The owner received this device through an Apple service request as a replacement for their original purchased unit.

P – This is a new retail device that was ordered online and personalized with Apple’s custom laser engraving option at checkout.

Google Play Store

A genuine iPhone only uses Apple’s App Store for downloading apps. In case your iPhone lands you on Google Play or any other marketplace, it’s not real.

Voice Assistant

Ask the voice assistant ‘Who are you?’. To do that, press the side of the home button to activate the voice assistant. If it’s real the voice assistant will reply “Hi I’m Siri”.

Source: Wccftech

Features

Airdrop a photo or web link from this iPhone to another Apple device. If it works it’s good. Check the AirPlaying media as well.

Animations

Refurbished or fake iPhones can’t perform animation as smoothly as a real one, as they are slow and laggy. Use the phone for some time to figure out.

Apple Support

If all the points mentioned above are not enough to clear your doubts, then you can head to the Apple Store. They will verify and confirm whether the device is real or fake.

Read- iPhone Screen Freezes & Won’t Respond to Touch – What to do?

Source: WeSellCellular

There are so many easy steps to give you a proper answer regarding how to check if the iPhone is original. However, for any sort of internal malfunctions get connected to the nearest repair provider. In case you live in a remote area, you have the option to mail your damaged device to the repair provider.

Got issues with your Apple Watch, iPhone, iPad, MacBook or any Apple device? Is a trustworthy repair centre not in sight? Don’t worry, the experts can help you get a free pickup and drop service and provide a bright iPhone Repair solution for all your Apple woes. Call today for your Apple Watch battery replacement, screen replacement, and other top repair services.

How to Update MacOS Without Losing Data?

Updating your MacOS is important to keep your system running smoothly and securely. Many people worry about losing their files during the update. The good news is that you can update your Mac safely without losing any data. This guide will explain how to update the Mac operating system without losing data in a few easy steps. By following these steps, you can ensure your files, photos, and apps stay safe while enjoying the latest features and improvements. Let’s get started!

When to reinstall MacOS?

Let’s start the journey by knowing when to reinstall MacOS:

Slow Performance: If your Mac runs very slowly despite regular updates and maintenance.

Frequent Crashes: If apps keep crashing or the system freezes often.

Startup Issues: If your Mac fails to boot properly or gets stuck on the Apple logo.

Corrupted System Files: If important system files are damaged, causing errors.

Virus or Malware: If your Mac is infected with malware that cannot be removed easily.

Selling or Giving Away: If you’re selling or giving away your Mac and want to wipe all personal data.

Failed Updates: If a macOS update fails and causes system issues.

Reinstalling macOS can help fix these problems while keeping your files safe, especially if you use the Reinstall macOS option in macOS Recovery mode.

Source: Apple Support

How to reinstall MacOS without losing data?

The process of reinstalling MacOS without losing data through a few checkpoints. Tick them off one after another.

Backup:

  • Backup Using Cloud Storage: Go to Settings > Preference > Select the iCloud app > Select the Option adjacent to some data type to store in backup > Go to Manage section to check how much free space is left.
  • Backup Using External Hard Drive: Connect the hard disk to your Mac, and copy the content from your Mac’s storage that you wish to save.
  • Backup Using Time Machine: Go to Menu > System Preference > Time Machine > Click on Select Backup Disk > Select the available drive and confirm your choice on the pop up screen.

Boot Mac:

  • Click on the Apple icon and go to the main menu > Restart your system > Press Command + R > After getting the Utility window on the screen > Click on Reinstall MacOS.

Install Mac OS:

  • After getting the confirmation message that will appear > Click on Continue > Select the inbuilt disk > Installation will start > Choose Restore Data from Time Machine backup.

Read How to Fix Spinning Beach Ball on MacBook

Source: MacObserver

After reinstalling MacOS, follow these steps to get your data back:

Select the Location: Reinstall Data Recovery on your Mac > Launch it > Select a source location to scan > Select the native source > Click on Start.

Preview: Preview the location > Click on Recover to get back those files.

Now your MacBook can run fast and show you all the memories from the past. However, for any sort of internal malfunctions get connected to the nearest repair provider. In case you live in a remote area, you have the option to mail your damaged device to a trusted repair provider.

Got issues with your Apple Watch, iPhone, iPad, MacBook or any Apple device? Is a trustworthy repair centre not in sight? Don’t worry, the experts can help you get a free pickup and drop service and provide a bright repair solution for all your Apple woes. Call today for your MacBook battery replacement, screen replacement, and other top repair services.

Read MacBook Fan Noise – What it means and how to fix it?

What’s New in the Apple iOS 18.2.1 Update?

The news is not new anymore that the Cupertino-based tech giant has recently introduced the Apple iOS 18.2.1 update. At least you have got the notification on your iPhone screen that your iOS is ready for an update. But how different is this new version of iOS from its previous version, the iOS 18.2, which was released just a month back? Is it worth updating? You will get these answers by the end of this blog, and then you can decide for yourself. But before that, let’s figure out a few more basic questions related to this.

Who can update to iOS 18.2.1?

The Apple iOS 18.2.1 update can be installed on iPhone XS and later models. This also includes iPhone SE 2nd Generation models and iPhone SE 3rd Generation models. Basically, if your iPhone is compatible with iOS 18, it can update to iOS 18.2.1. However as per ground reports, in some models, the update was released after a few days of its initial launch.

How to update to iOS 18.2.1?

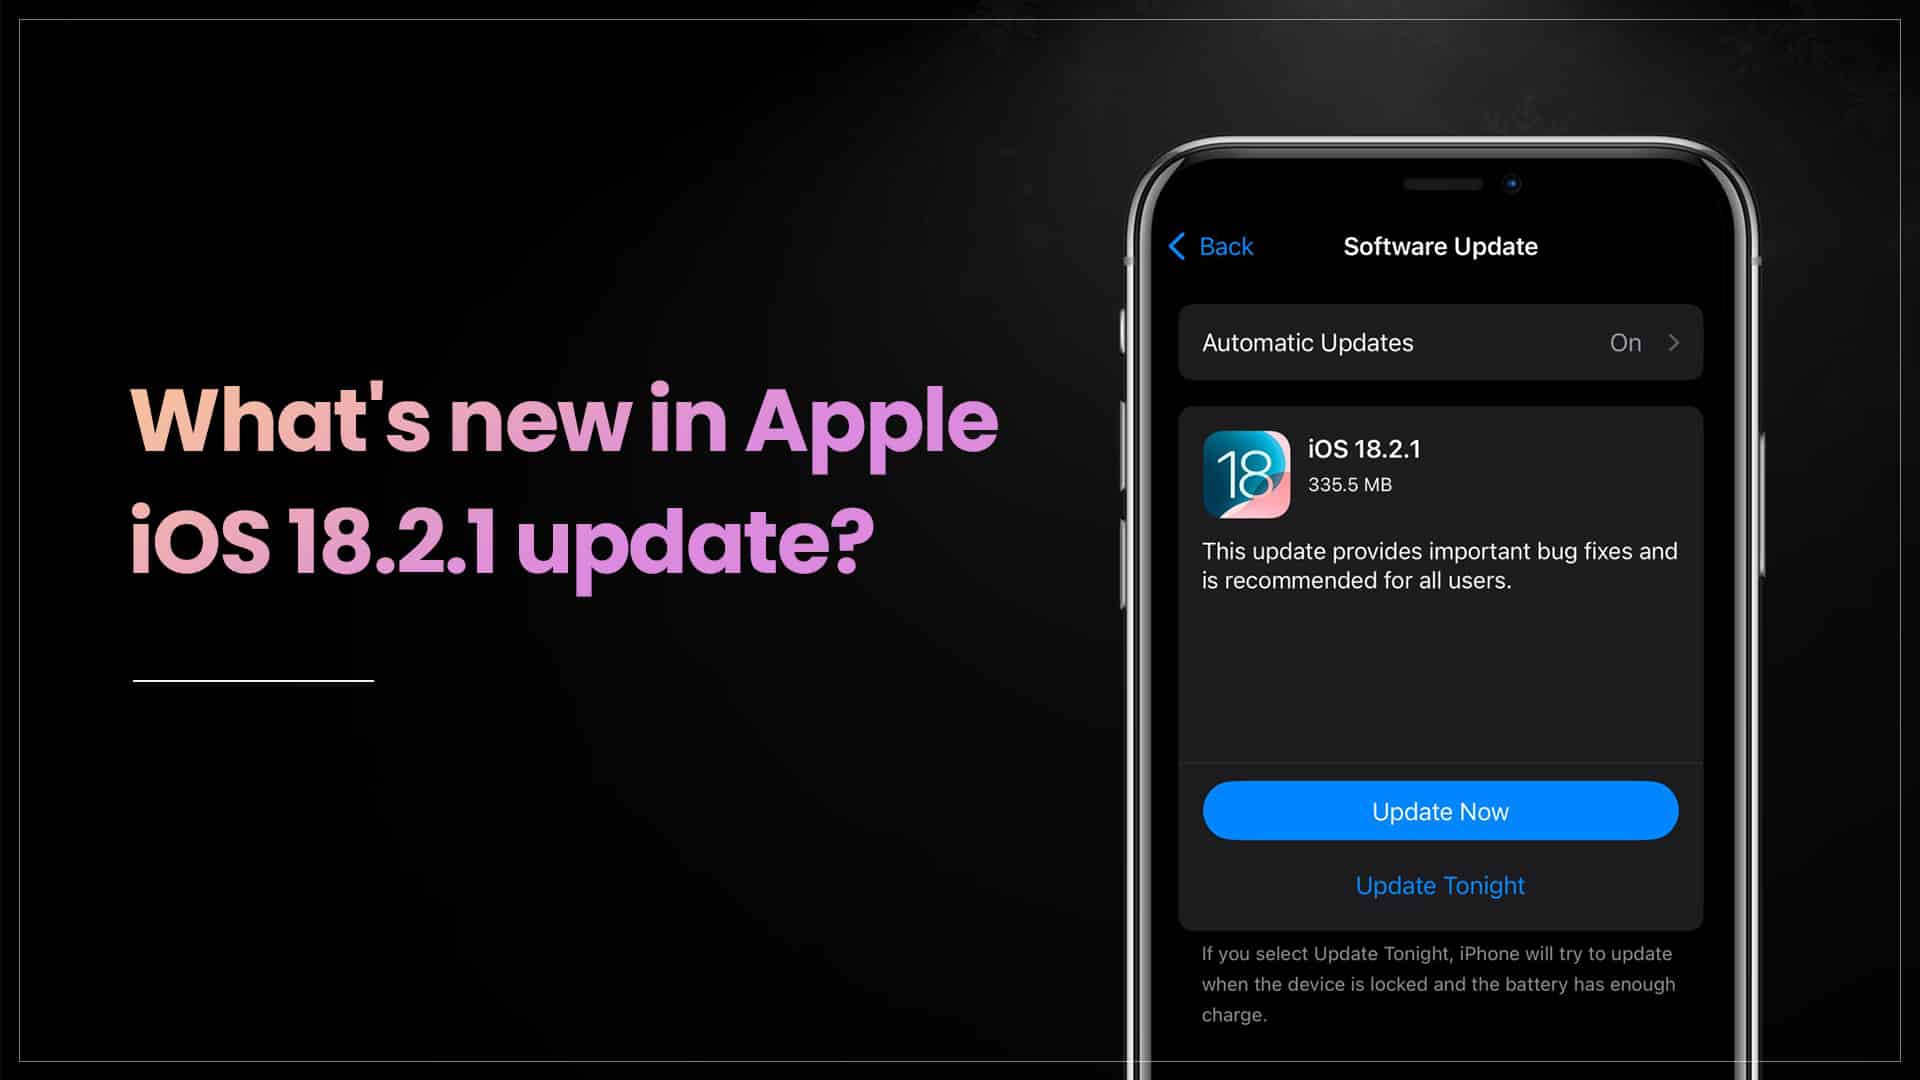
To install this latest iOS software, you have to open the Settings app on your iPhone and go to General, and tap on Software Update. If the update is available on your iPhone, you will see the Update Now icon. Tap on it and your iPhone will start installing iOS 18.2.1. Alternatively, you can select the Update Tonight option which will enable installation when the device is locked and there is enough charge. One thing to note here is, that this is a smaller update in comparison to previous versions of iOS 18, with a size of just 335.5 MB. But no matter how little space it requires, it is always wise to make sure there is enough space in your iPhone for the update to install.

Read More – iOS 18.2 Update: Exciting New Features You Need to Know

What’s new in the Apple iOS 18.2.1?

Apple introduced its Artificial Intelligence suit Apple Intelligence with the launch of iOS 18 just a few months back. That update truly revolutionized iPhone usability with its top features. Though it would have been too much to expect another iOS launch with pathbreaking features so soon, iOS 18.2.1 is here now. But there’s nothing new in it. The official Apple statement suggests that ‘This update provides important bug fixes and is recommended for all users’. However, there were no notable bugs in the last version of iOS. Apple has not pointed to any important security fixes in this update.

Source: La Vanguardia

Is it worth updating to iOS 18.2.1?

Now this answer is different for every iPhone user. As there are no new features or security updates, one may decide to skip updating. However, those who believe in keeping their iOS updated can try it. After all, the update size is nothing huge. Now, it’s your call.

Got issues with your Apple Watch, iPhone, iPad, MacBook or any Apple device? Is a trustworthy repair centre not in sight? Don’t worry, the experts can help you get a free pickup and drop service and provide a bright repair solution for all your Apple woes. Call today for your Apple Watch Screen Replacement, battery replacement, and other top repair services.

How to Disable MacBook Charging Sound?

disable MacBook charging sound

A ringer sound plays as an alert when a charger cable is plugged into an open MacBook. This sound is known as the charging chime. Apple introduced this feature on MacBook in 2015 when they replaced the previous MagSafe charging cables with the USB-C cable for charging Macs. It was done as unlike MagSafe cables, USB-C cables don’t have a light to indicate that a device is being charged. While most may find this feature useful, others may think it unnecessary. They might have thought a few times about how to make MacBook not make a sound when charging. Well, they would be happy to know, it is actually possible. There are three different ways to do it. Let’s see how.

Source: 9to5 mac

How to silence ringer on MacBook?

To turn off ringer on MacBook, you can try any of these three methods. Check anyone of them first, and then plug in the charger to figure out if the charging chime is gone. These methods are effective in various operating software, from macOS 10.15 Catalina to macOS 15 Sequoia. The steps may vary a bit depending on the OS.

Adjust the Alert Volume slider – Go to the Sound settings and turn down the Alert Volume slider. This slider controls the volume of System Sounds, including charging sound. So note that it will also mute other alerts.

Untick the Play User Interface Sound Effects options – If you are not satisfied with the previous method, you can try this one. But this too will mute all system sound effects. Here are the steps to do it,

  • Scroll your Apple Menu.
  • Look for System Preferences.
  • Click on Sound.
  • In the Sound Effects tab, untick the ‘Play User Interface Sound Effects’ checkbox.

Disable charging sound with a Terminal app command – This method might sound a bit complicated, but it will turn off the charging sound permanently. Make sure to copy the command properly.

  • Open the Terminal app.
  • Paste the following command once the app launches.

    defaults write com.apple.PowerChime ChimeOnNoHardware -bool true;killall PowerChime
  • Check if the charging sound is disabled by plugging in the charger.

This command will turn off ringer on MacBook while plugging it into the charger. However, if you change your mind and want to enable the charging sound again, you can go to the Terminal app and paste this command,

defaults write com.apple.PowerChime ChimeOnAllHardware -bool true; open /System/Library/CoreServices/PowerChime.app &

Read – How to Fix Spinning Beach Ball on MacBook

Hope one of these methods will serve your purpose to turn off the charging chime. Do not use any third-party app to disable it, as it may come with its own set of adverse consequences.

Got issues with your Apple Watch, iPhone, iPad, MacBook or any Apple device? Is a trustworthy repair centre not in sight? Don’t worry, the experts can help you get a free pickup and drop service and provide a bright MacBook Repair solution for all your Apple woes. Call today for your Apple Watch battery replacement, screen replacement, and other top repair services.

whatsapp logo