Netizens gear up, it is that time of the year again! Yes, the time to run into iPhone 15 Pro leaks, gossips, and everything that seems reliable enough. Don’t worry, in this blog we’ve got you totally covered and we will specifically talk about only the verified updates so don’t worry about being misled by anything that’s written here; we quote our sources well.
Source: HT Tech
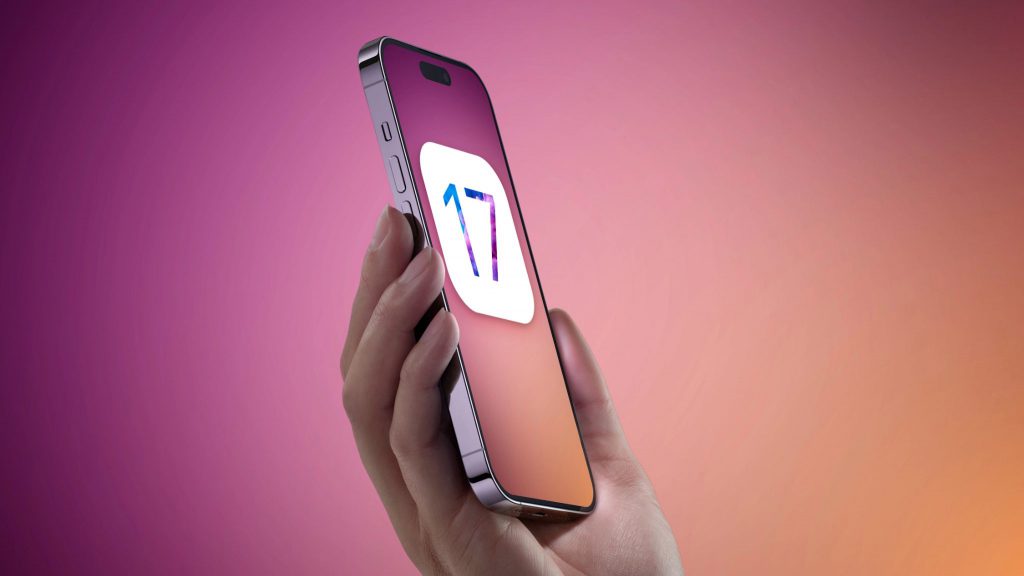
Talking about the arrival of the iPhone 15, iPhone 15 Pro, and of course the iPhone 15 Pro Max in September 2023, we’re excited and we know you too are! This comes after we talked about the iOS 17 release date in 2023 in our previous article. That means a brand new iPhone series to review, test, experience, and drop (for those sturdy physical tests or challenges) along with a brand new iOS in the form of iOS 17.0. Before we jump into the specifics let us first give you a heads up on some of the FAQs around iPhone 15 Pro to get the latest iPhone 15 and iPhone 15 Pro updates.
iPhone 15 Pro Series Buzz
When will the iPhone 15 series be released?
A: Based on previous release patterns, it’s expected that the iPhone 15 series will be released in the fall of 2023.
What new features can we expect from the iPhone 15 series?
A: It’s difficult to predict specific features for a product that hasn’t been released yet. However, some rumoured features for the iPhone 15 series include a folding design, improved cameras, faster processors, and potentially even a portless design.
Will the iPhone 15 series be 5G compatible?
A: It’s highly likely that the iPhone 15 series will be 5G compatible, given that 5G has become increasingly common in smartphones.
How much will the iPhone 15 series cost?
A: It’s hard to predict the exact price of the iPhone 15 series at this time, as Apple typically announces pricing closer to the release date. However, it’s expected that the iPhone 15 series will have a similar price range as previous iPhone models.
Will the iPhone 15 series have a headphone jack?
A: It’s unlikely that the iPhone 15 series will have a headphone jack, as Apple has been moving towards a more wireless future in recent years.
Will the iPhone 15 series come with a charger?
A: It’s unknown at this time if the iPhone 15 series will come with a charger, as Apple has recently stopped including chargers with some of its products.
Source: Yanko Design
iPhone 15 Pro Series Release Date
Quite a few questions are asked only to enquire about the specific date of the iPhone 15 series hitting the stores in India. Now with 2 additional Apple stores, 1 in the Bandra-Kurla complex (BKC) in Mumbai and the other in Select City Walk, Saket in Delhi, the craze to line-up for the spiciest update of the year is going to be a thing of the future.

Source: Business Today
But as per MacRumors, it is going to be somewhere around 20-23 September in 2023. That’s when we know Apple goes about their annual event where new products are launched and upcoming ones are announced. It is expected to roll-out with the all new iOS 17.0 update.
iPhone 15 Pro Series Features
After the technicalities and launch date formalities, let us move to the fun part! That’s about the iPhone 15 series – iPhone 15 Pro, iPhone 15 Pro Max, and the basic iPhone 15 – and what can you expect from these upcoming models from Apple. These are some of the adjusted or new iPhone 15 Pro features.
Size
In terms of look and size, we’re expecting a total of four iPhone 15 models in the same sizes as the iPhone 14 models, including two 6.1-inch iPhones and two 6.7-inch iPhones. One of the 6.1-inch iPhones will be the standard iPhone 15, while one of the 6.7-inch models will be an iPhone 15 ‘Plus.’ The other 6.1 and 6.7-inch iPhones will be higher-end and more expensive “Pro” models.
USB-C
The biggest change will come with the lightning connector going out of the picture and will be replaced with a universal USB-C type charging port to be in accordance with the new ruling passed for iPhones in Asia and Europe.
Technical Updates
Apple also plans to use Qualcomm modem chips for the new devices as its own modem chips that are in development won’t just do the job this year at least. The standard iPhone 15 models will get an upgrade to the A16 chip that was in the iPhone 14 Pro models, while the iPhone 15 Pro models will use faster and more efficient 3-nanometer A17 chips.
Source: Tom’s Guide
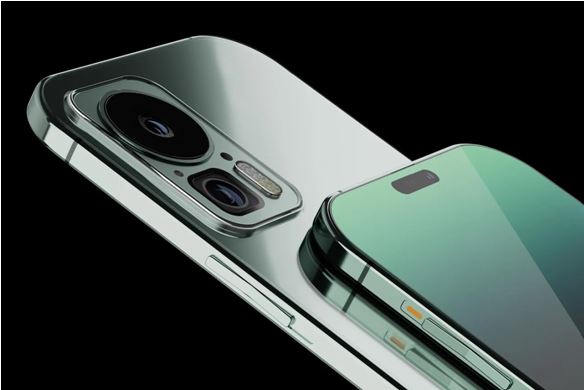
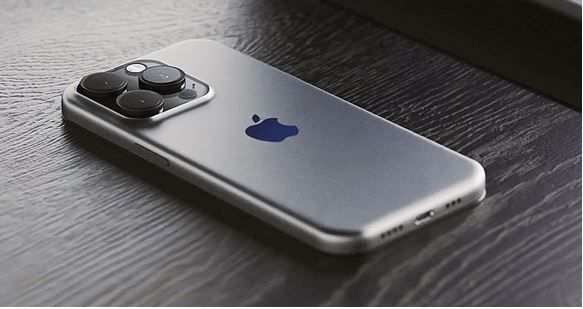
The Pro models could see an upgrade to titanium frames, slimmer bezels, and some minor design changes with more curved device edges, and the iPhone 15 Pro Max is also expected to get periscope lens technology for enhanced zoom capabilities.
What Is Likely To Be Included in iPhone 15 Pro?
- Dynamic Island update & availability for iPhone 15
- OLED display driver chip
- Integrated Proximity sensor
- Frosted Glass back
- Periscope Zoom Lens
- Qualcomm Modem chip
What Is Likely To Be Excluded in iPhone 15 Pro?
- Always-on Display
- ProMotion Technology (on base iPhone 15 models)
- Unified Volume button
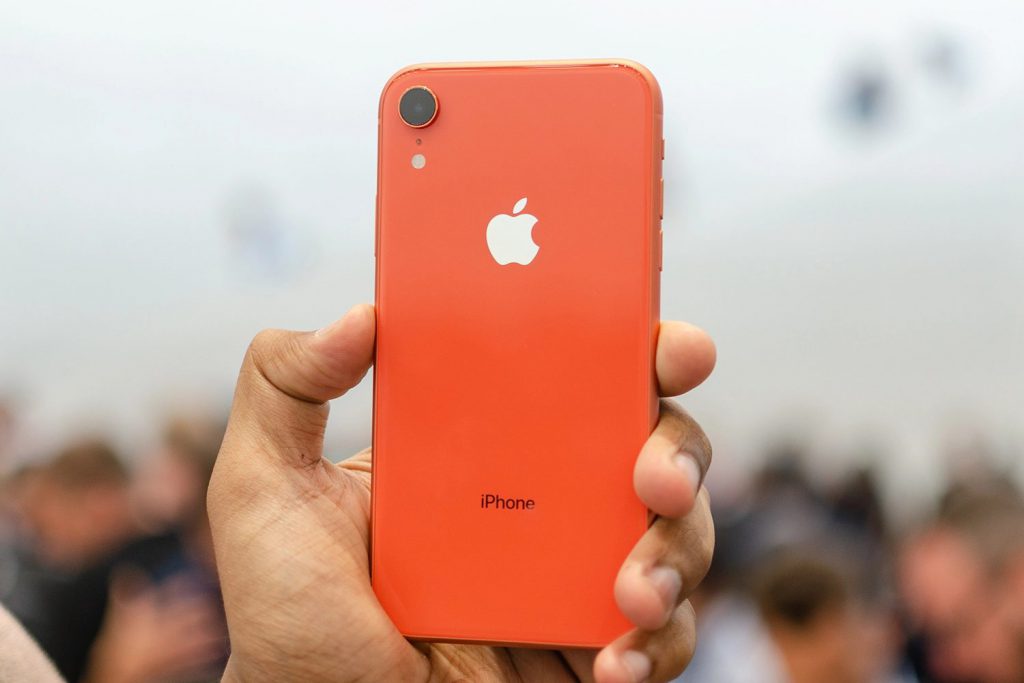
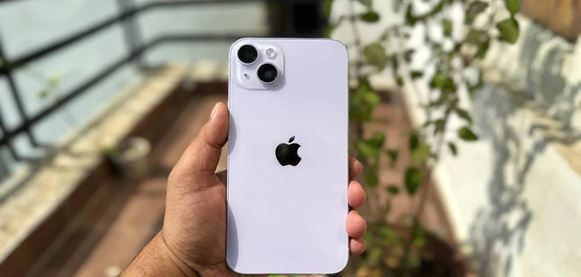
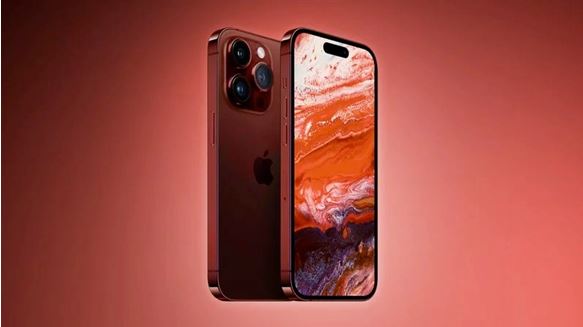
iPhone 15 Pro Series Colours
If the design and features are the top searched query, the iPhone 15 Pro colours are next favourite ask from netizens. As per MacRumors, the iPhone 15 Pro and iPhone 15 Pro Max could be unveiled in a dark red colour. This is expected to be close to a maroon or burgundy colour. The other standard colours silver/gold and space grey are also expected to be the available options for Apple fans.
Source: 91 Mobiles
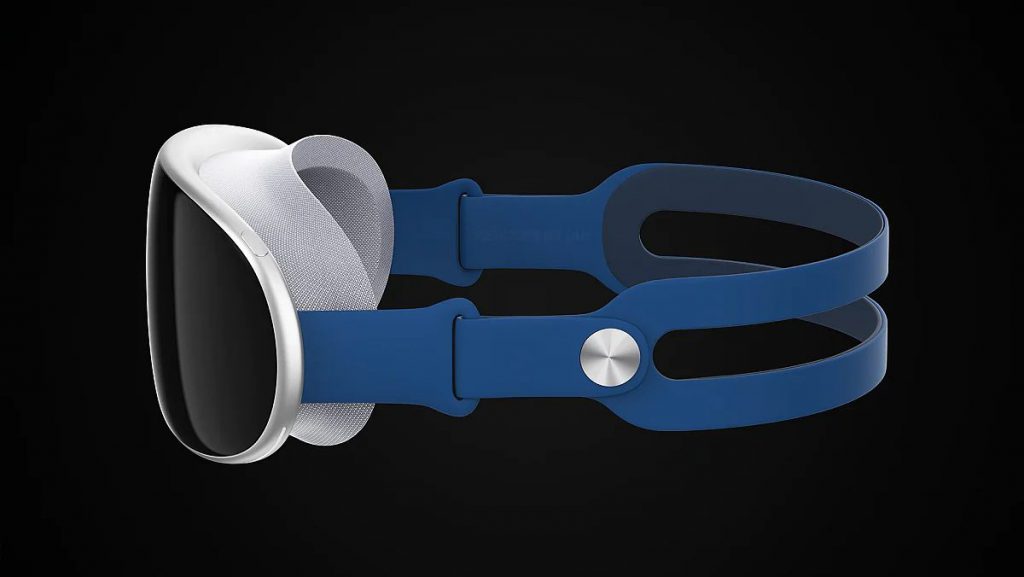
Is There A Flip iPhone On The 2023 Menu?
Well, last year there were claims that the iPhone’s future could uphold a flip version of the classic iPhone we saw years ago or a reboot of the iPhone X or XR. But contrary to these rumours, there’s no development in this space and nothing can confirm so far that a flip iPhone is on its way in 2023. Add to that the fact that Apple has never officially commented or given information about any plan to enter the race for a slot with a foldable technology. But on the flip side, they’ve filed a few patents for foldable and flippable tech, meaning they’re experimenting with the idea if not anything more.
As per Android Authority, renowned tech analyst Ming-Chi-Quo has claimed that a foldable iPhone is very much a possibility in the year 2025 if not today. What the future beholds is difficult to say but one thing is for sure that netizens are clearly very excited for the iPhone 15 series to make its way to the top stores.
Got issues with your iPhone, iPad, MacBook or OnePlus device? A trustworthy iPhone repair centre not in sight? Don’t worry, the experts can help you get a free pickup and drop service and provide the bright repair solution for all your Apple & OnePlus woes. Call today for Apple screen replacement, battery replacement, and other top repair services.