An iPad ages strangely. The processor often remains perfectly usable for years. The display still looks sharp. Even older iPads continue handling streaming, reading, sketching, meetings, and casual work without much complaint.
But eventually, one physical component starts giving up before everything else. The charging port, not dramatically, quietly.
First, charging slows down. Then the cable becomes sensitive to movement. A slight touch interrupts power. One day, the iPad simply refuses to charge unless the connector sits at an oddly specific angle.
That’s usually when people start searching for iPad charging port replacement and immediately discover something confusing. The repair prices are wildly inconsistent.
There’s a reason for that.
An iPad Port Is Not Built Like a Phone Port
Most users assume the charging connector is a small, easily replaceable part.
On older devices, repairs were simpler. Modern iPads are different.
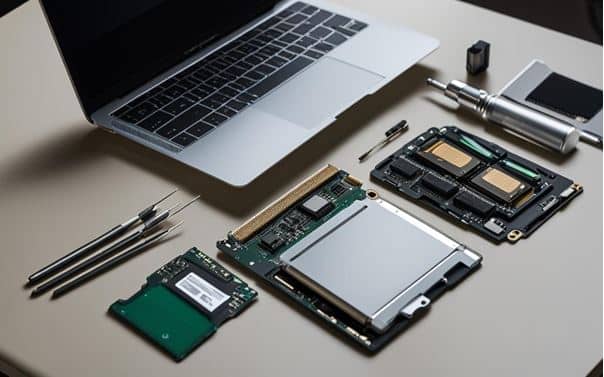
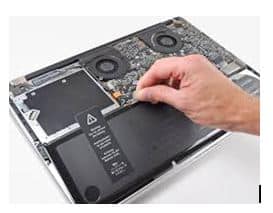
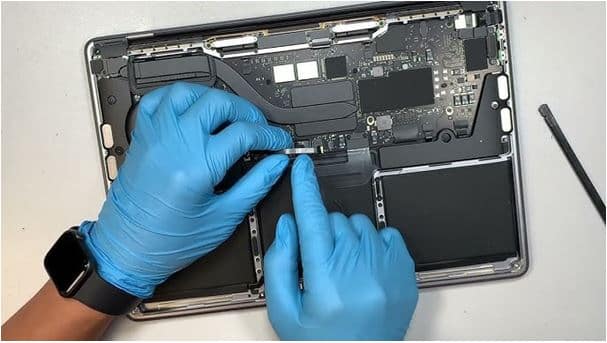
The internal layout is thinner, tighter, and more layered. In many models, accessing the charging assembly means partially dismantling the device, carefully lifting the display, and working around delicate internal connectors.
That complexity changes the repair cost significantly.
Especially on newer Air and Pro models.
The Cheapest Repair Is Often the Most Expensive One Later
A lot of users make the same decision.
The iPad still turns on. Everything else works. So they chose the lowest repair quote available just to restore charging quickly.
Technically, the device starts charging again.
Then, after a few months:
- the cable loosens again
- charging becomes unstable
- the connector overheats
- slow charging returns
This usually happens because low-quality charging assemblies wear out faster under daily strain.
And unlike phones, iPads often remain plugged in for long sessions. Online classes, Netflix, drawing apps, Zoom meetings, desk usage. The connector experiences sustained pressure for hours at a time.
Weak replacement parts don’t survive that well.

Source: CNET
What Actually Decides the Repair Cost?
The iPad charging port repair cost in India depends less on the connector itself and more on three things:
1. iPad Model
Older standard iPads are easier to work on.
Newer iPad Air and Pro models are far more compact internally.
Repair difficulty increases sharply with newer devices.
2. Type of Damage
Sometimes the port is damaged physically.
Sometimes the issue sits deeper:
- charging IC faults
- corrosion
- board-level charging failure
That changes the pricing entirely.
3. Quality of the Replacement
This is where the biggest difference appears.
Lower-cost replacements reduce upfront pricing but often compromise durability. Better-quality charging assemblies cost more but handle long-term daily charging much more reliably.
The Real Problem With a Failing Port
A damaged connector affects more than charging.
An unstable port can:
- interrupt data transfer
- affect charging speed
- create heat buildup
- stress the battery over time
That’s why ignoring the issue usually makes things worse gradually instead of immediately.
Where Rapid Repair Fits In
Rapid Repair approaches these issues differently from basic connector-swap setups.
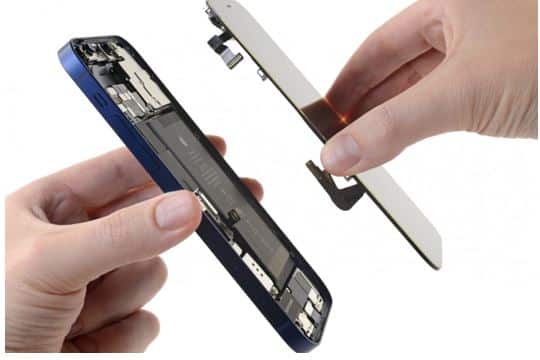
Instead of immediately replacing the port, the device is diagnosed first to determine whether the fault is:
- the charging assembly itself
- battery-related
- or connected to internal board-level charging circuits
Only then is the repair carried out using OEM-grade components, followed by charging-cycle and stability testing.

Source: Verge
That matters because many users assume the connector is faulty when the actual issue sits deeper inside the device.
The pickup-and-drop service also makes practical sense for iPads, especially larger Pro models that people are understandably hesitant to carry around unnecessarily.
So, Is It Worth Repairing?
In most situations, yes.
iPads tend to outlive many other gadgets. A properly repaired charging port can easily extend the usable life of the device by several more years.
Replacing the entire iPad because of a failing connector is usually unnecessary unless major internal damage exists elsewhere.
The phrase iPad charging port not working sounds minor until the device stops fitting into your daily routine properly.
And because iPads are built to last unusually long, charging ports often become one of the first hardware components to wear out under constant use.
The good news is that most of these issues are repairable.
The important part is making sure the repair itself lasts longer than the problem did.
Read – iPad Not Charging? Here’s the Fix
FAQs
Why is my iPad charging only when the cable is tilted?
This usually points to a loose or worn charging port. In some cases, dust buildup inside the connector can also prevent proper contact between the cable and the port.
Can a dirty charging port stop the iPad from charging completely?
Yes. Pocket lint and debris can get tightly packed inside the port over time, especially if the iPad is carried in bags frequently. Cleaning the connector carefully may restore charging if the issue is minor.
How much does an iPad charging port repair cost in India?
The cost depends on the iPad model and the extent of damage. Older standard iPads are generally cheaper to repair, while newer iPad Air and iPad Pro models usually cost more due to their compact internal design.
Is iPad charging port replacement better than buying a new iPad?
In most situations, yes. If the display, battery, and motherboard are functioning properly, replacing the charging port is far more economical than replacing the entire device.
Can a faulty charging port damage the battery?
Over time, unstable charging can affect battery health, especially if the connector repeatedly disconnects or overheats during charging.
Why do some charging port repairs fail again after a few months?
This usually happens because of low-quality replacement parts or improper installation. Since iPads are often used while charging, weak charging assemblies wear out faster under constant strain.
How long does iPad charging port replacement take?
The repair time depends on the model and the severity of the issue. Simple repairs may be completed within hours, while more complex internal repairs can take longer.
Should I continue using the iPad if the charging keeps disconnecting?
It is better to diagnose the issue early. Repeated unstable charging can gradually affect the battery and internal charging circuits over time.