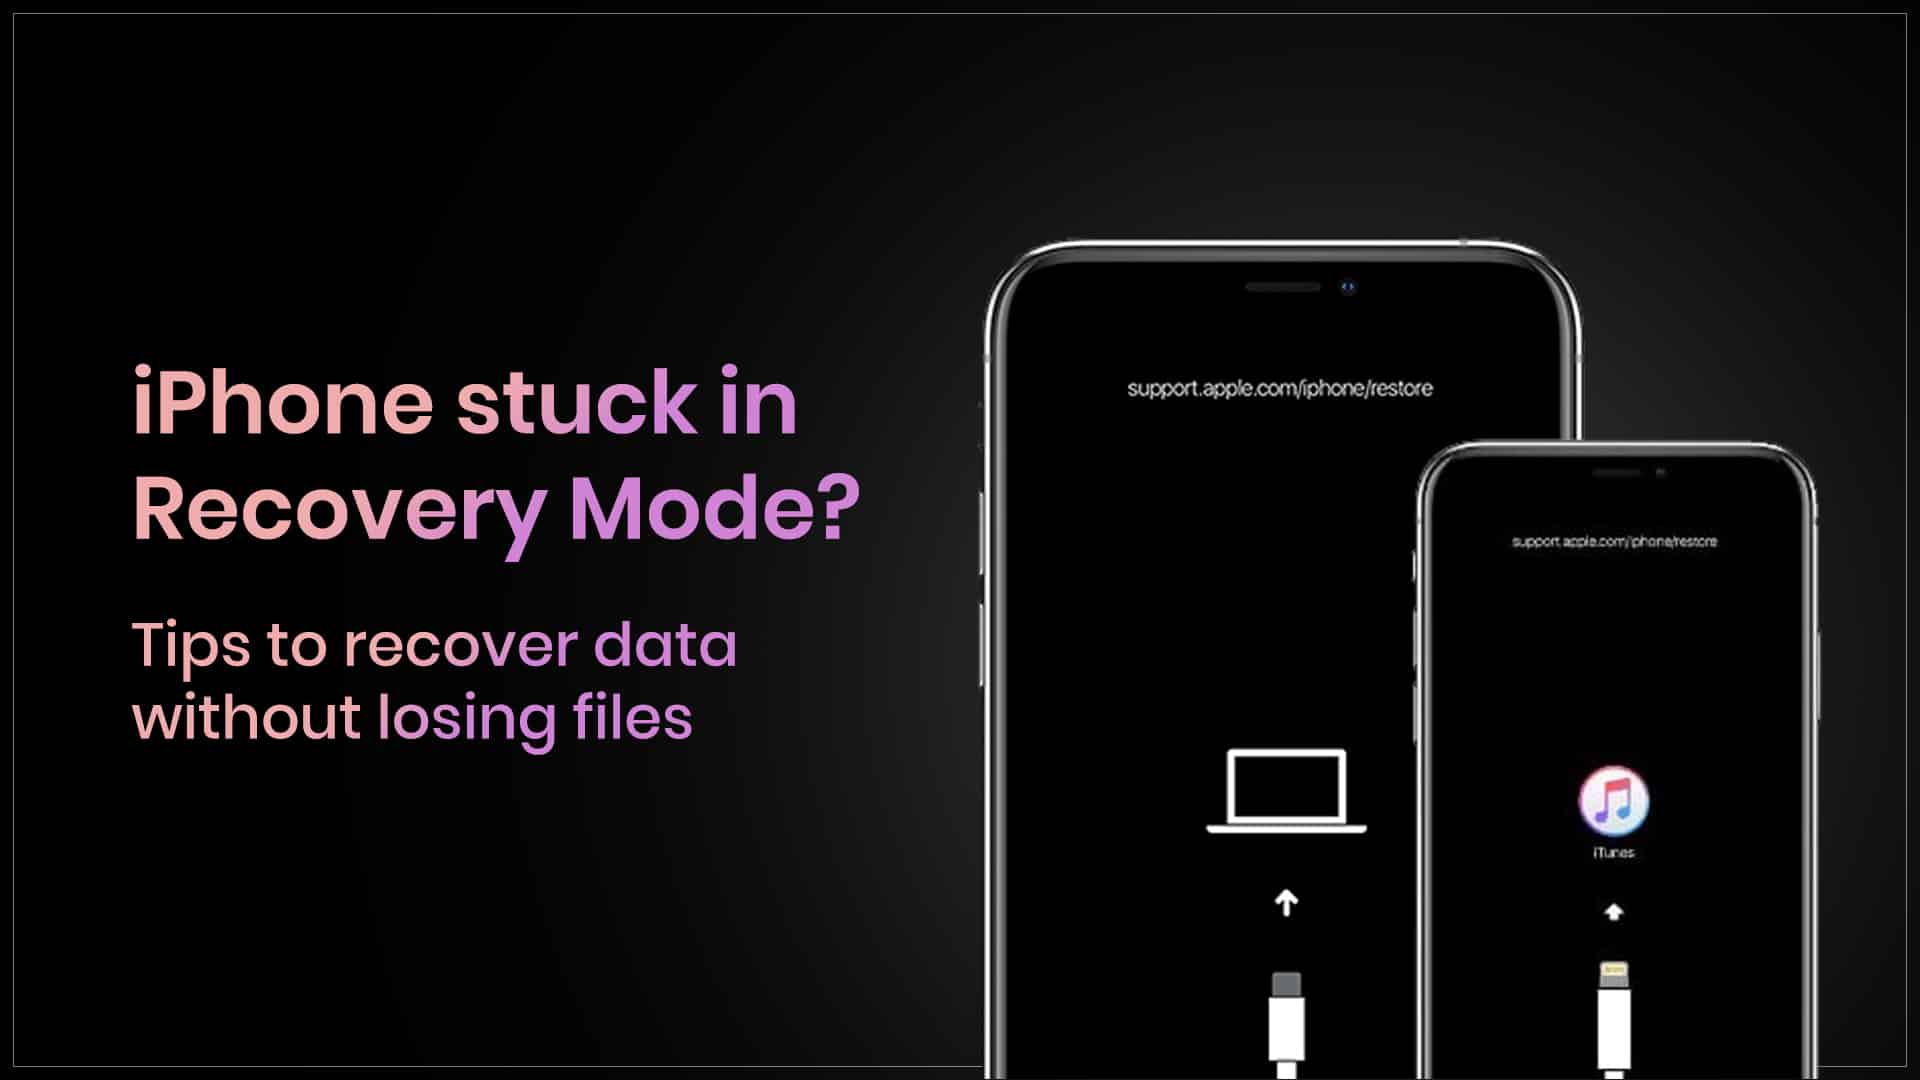
One issue that is often faced by iPhone users is their device getting stuck in recovery mode. There can be multiple reasons behind this error, but to see your iPhone stuck in recovery mode can be horrifying, especially if you haven’t backed up your data. But like any issue with the iPhone, there are remedies for this as well. You can recover your data and fix your iPhone without losing files. But before going to the solution, let’s understand the problem.
Why does the iPhone get stuck in Recovery Mode?
Several reasons can get your iPhone locked in recovery mode. Below you will find out some of the most common roots of this issue.
- Unsuccessful iOS update: If an iOS update is interrupted in the process or gets corrupted, your iPhone can get stuck in recovery mode.
- Failed jailbreak: If you try to jailbreak your iPhone, i.e., if you try to remove the restrictions imposed by Apple on the iPhone’s operating system, and some method backfires, the system might force it into recovery mode.
- Hardware problems: Damage in the battery or a faulty motherboard can cause this issue.
- Software issue: If an app is corrupted or there is a bug in the iOS, it can cause your iPhone to get stuck in recovery mode.
- Incorrect restoration: If the iPhone is incorrectly restored via iTunes or Finder, it can end up in recovery mode.
How to recover data without losing files?
To exit recovery mode without losing your data, you can try one of the methods below.
1. Force Restart your iPhone
A Force Restart might sound simple, but it is at times very effective to fix minor glitches and get the iPhone out of recovery mode. To do that,
- Press and release the Volume Up button
- Press and release the Volume Down button
- Press and hold the side button until the Apple logo appears

Source: Hongkiat
2. Use Finder or iTunes to Update instead of Restore
If the above step doesn’t work, try updating your iPhone via iTunes (Windows/macOS Mojave and earlier) or Finder (macOS Catalina and later).
Steps to Update via iTunes/Finder:
- Connect your iPhone to your computer using a USB cable.
- Open iTunes (Windows or macOS Mojave and earlier) or Finder (macOS Catalina and later).
- Your iPhone should be detected in recovery mode. A prompt will appear.
- Click Update (not Restore!).
- Wait for iTunes/Finder to download and install the latest iOS version.
- Once completed, your iPhone should restart normally without data loss.
3. Use iCloud to Restore Data After Recovery
If none of the above methods works and you have no choice but to restore your iPhone, you can recover your files from an iCloud Backup.
Steps to Restore Data from iCloud Backup:
- After restoring your iPhone, set it up as a new device.
- On the Apps & Data screen, select Restore from iCloud Backup.
- Sign in with your Apple ID.
- Choose the most recent backup and let it download.
Read – Why your iPhone isn’t Ringing and How to Fix it?

Source: Aiseesoft
How to prevent future Recovery Mode issues?
To avoid this issue in the future, follow these tips:
- Keep iOS Updated: Regularly update your iPhone to avoid software bugs.
- Avoid Unstable Jailbreaks: If you jailbreak, ensure you use a stable method.
- Use Trusted Apps: Download apps only from the App Store to avoid software conflicts.
- Regularly Backup Data: Use iCloud or iTunes to back up your iPhone regularly.
An iPhone stuck in recovery mode can be frustrating, but you don’t have to lose your data. Follow the measures to prevent a future occurrence of this issue and make it a habit to back up your data on iCloud.
Got issues with your Apple Watch, iPhone, iPad, MacBook or any Apple device? Is a trustworthy repair centre not in sight? Don’t worry, the experts can help you get a free pickup and drop service and provide a bright repair solution for all your Apple woes. Call today for your iPhone screen replacement, battery replacement and other top repair services.


