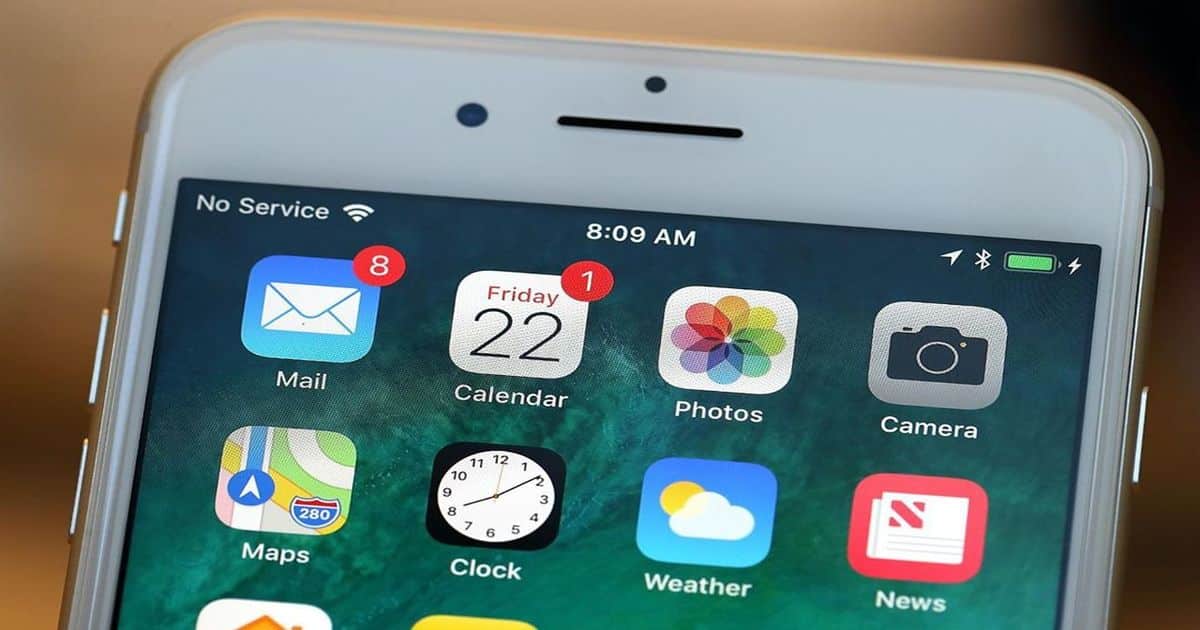
If you live in an area with weak cell phone reception, you might commonly come across the “No Service” notification. However, if the area doesn’t suffer from network issues but you are still getting no service on your iPhone, then it might be an internal software issue. You’d want to shout out loud ‘why does my iPhone say no service when I am in a network area? Sadly, this iPhone no service problem has become huge for many iPhone users, especially those who use an iPhone 7 built around 2016 and 2018.
It can be frustrating to get no service on your device even when you are in a good reception area. You are unable to send messages, access the internet, or even call somebody if needed. While there are ways in which you can solve the iPhone “No Service” problem on your own, it can still hamper your productivity and keep you from doing important tasks.
Here are some signs to look out for in order to identify whether you are genuinely facing a network issue or if your phone is acting weirdly. This is followed by how to fix the no service on iPhone – a remedy that’s been asked time and again by people on the internet.
Symptoms to Watch Out For
Users reported that they didn’t face any issues with calls and service when they first bought their iPhone 7 models. However, they would lose service in a few days, with the phone displaying that it was either searching for service or had no service. This is what we can call the iPhone No Service problem.
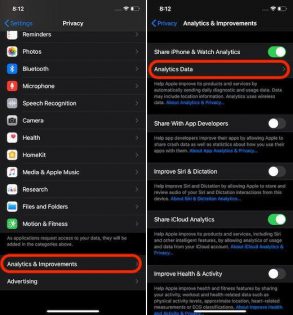
The first step to understanding why is my iPhone saying no service is to check for coverage issues. To determine coverage, check the signal bars that represent network strength in an area. If your iPhone doesn’t display them in one location but shows full strength in another, then your location probably has poor network coverage.
Go to an open area and see if the situation improves. To spot the bug, you could also compare your device’s signal strength with another iPhone 7 using the same carrier. If the second device shows all the bars, then it’s definitely a hardware defect. Fix your iPhone 7 “No Service” issue by taking it to the experts to bring it back to life.
How to Fix No Service on iPhone
Restart the iPhone
This is a good way to clear your iPhone’s memory and eliminate any bug that is creating issues in the network section. To restart, press and hold the side or top button until the slider appears on the screen. Drag it to turn off your device. To restart, hold the side or top button until the Apple logo reappears. You can also restart your iPhone 7 by going to Settings > General > Shut Down and turn it on back again.
Turn Off Automatic Network Selection
Manually selecting the network can also solve the “No Service on iPhone” error sometimes. To perform this, you need to go to the Settings app on your iPhone. Go to the Cellular menu, then Network Selection and then toggle the Automatic option Off. The device will then scan for some networks manually and show you a list. Choose the carrier as per your SIM and the network issue will be resolved.
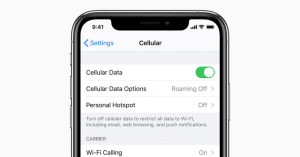
Check Cellular Data
Sometimes, you might get signals, but find it difficult to access the internet. If you are facing this issue, you should check your cellular data settings. It might happen that you have either disabled Mobile Data unknowingly or didn’t turn on Roaming options if you are travelling to some other place. To verify if your Mobile Data or Roaming settings are turned on, go to Settings > Mobile Data > and ensure whether Mobile Data and Roaming are turned On or Off.
Reinsert the SIM card
Removing and reinserting the SIM card could fix network issues. Remember to turn off the phone before doing this! You can also put in another SIM to determine whether the problem is the card, the carrier, or the phone.
Toggle Airplane mode
Turning your iPhone’s Airplane mode on and off again could help it pick up carrier signals.
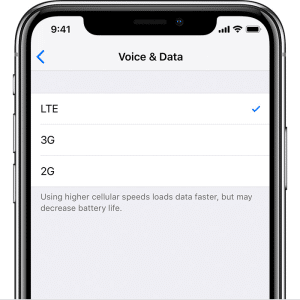
Switch Data Options
iPhones have the ability to run on 4G or 3G connectivity as per your need. Go to Settings > Cellular > Voice & Data menu and switch between 4G and 3G to check if it fixes the “No Service” in the iPhone issue.
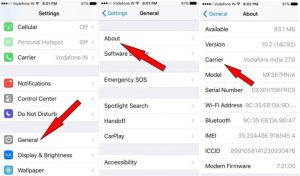
Check for Carrier Settings Update
If your carrier settings are not updated, then also you can face this “No Service” issue on your iPhone. To check if there is an update available that you haven’t done, head over to Settings > General > About on your iPhone. Scroll down to the bottom where you can see the details related to your carrier. If it shows an update is available, you should connect your device to a Wi-Fi network and start the Update right away.
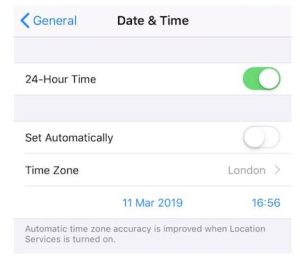
Reset Data and Time Settings
If you are travelling to another location, or maybe to a different time zone, the “No Service on iPhone” issue can occur abruptly. This happens because the device is unable to update its settings while you cross time zones. To fix this, you should try to connect your iPhone to a Wi-Fi network. Once connected, open Settings > General > Data & Time > and toggle the option of Set Automatically. If you are connected to the internet, these settings should get updated soon and the device will start showing the network.
Reset network settings
This troubleshooting step can solve network-related problems of smartphones—but it should ideally be your final option. Why? That is because it will delete all your saved Wi-Fi passwords, VPN and APN settings, and even cellular details.
Experiencing network issues is usually not that serious. You can rectify it through a restart, system update or any other fixes specified above. Still, if you are facing the “No Service” tag even after trying all the fixes properly, there might be something inherently wrong with the hardware and you should contact your nearest iPhone service centre to get it diagnosed and fixed.
If you’ve tried and failed and are still wondering why is my iPhone showing no service then you must contact the repair experts in your area and tell them about it so they can repair your device after a thorough diagnosis.